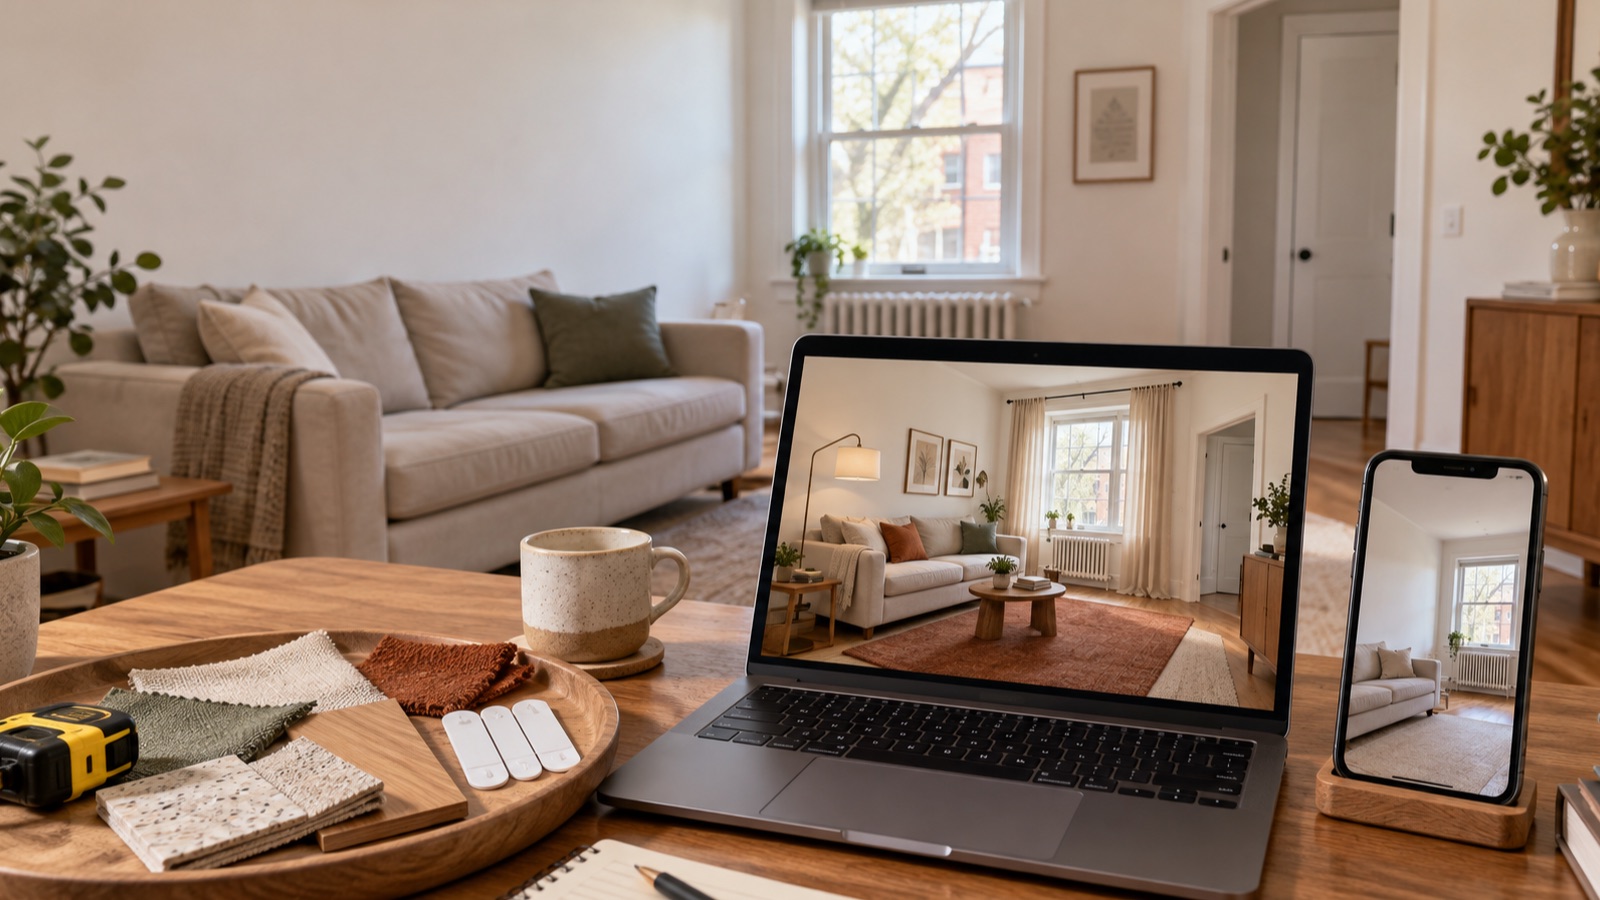

Using AI to design a room: choose the right workflow first
Using AI to design a room? Match your question to a photo, measured plan, reference image, or Agent-led brief before you generate.
Most people using AI to design a room start with a style prompt. Start one step earlier: decide what the result needs to help you choose.
Use a room photo when the open question is visual, such as color, material, lighting mood, or furniture character. Use a measured plan when the question is whether something fits. Add a reference image when you can point to the look but cannot name it. If the request contains several constraints and half-formed ideas, let an Agent organize the brief before any image is generated.
For that last case, the DwellShift room design Agent keeps the conversation, images, requirements, proposal, and results in one project. When you ask for options, you can adjust the proposed direction before selecting Generate, then return to the same context when the first image needs work.
DwellShift publishes this guide and recommends its own product. The product behavior and trial details below were checked against the site's implementation on September 27, 2026. We did not compare image quality or speed across competing tools.
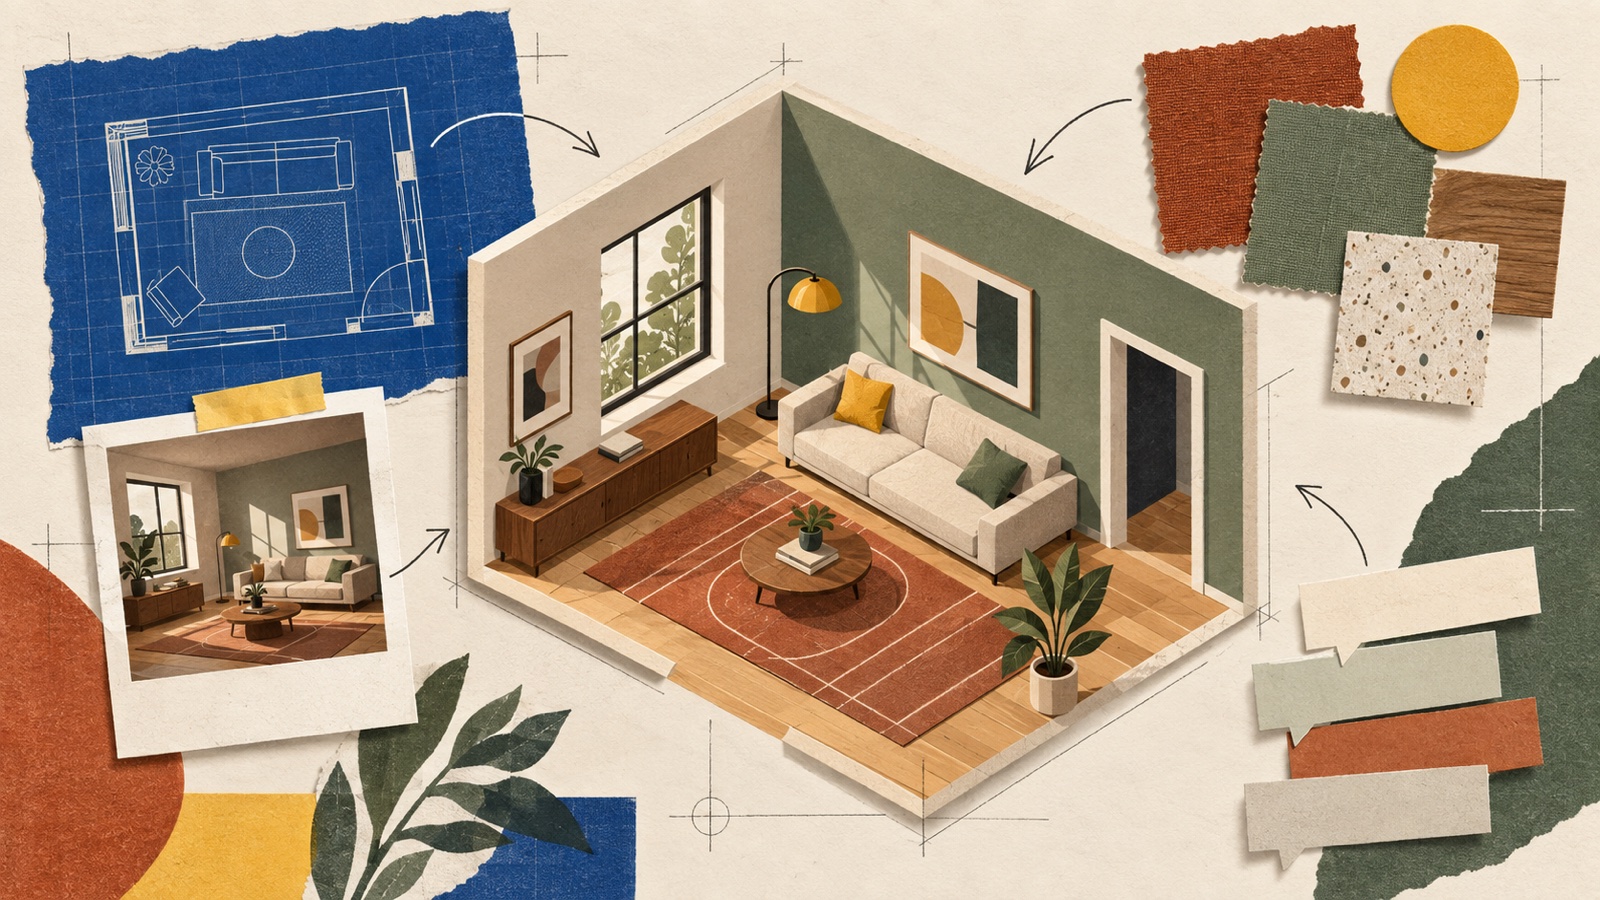
The cover is an AI-generated editorial collage, not a product screenshot or a room accuracy test. AI assisted the search research, structure, and draft.
One room can contain four different design jobs
"Help me redesign this living room" sounds like one request. It may hide four jobs that need different evidence.
| The decision you need to make | Best input | What AI can usefully produce | What still needs another check |
|---|---|---|---|
| Choose a visual direction | A clear room photo | Palette, material, furniture, and atmosphere concepts | Actual samples, product colors, and dimensions |
| Test furniture placement | A measured plan with openings and fixed elements | Layout options and viewpoints | Scale, clearances, door swings, and real product sizes |
| Borrow a specific look | Your room photo plus one reference | A concept that carries selected colors, materials, or mood | Exact products and faithful copying of every reference detail |
| Turn a messy idea into a brief | Conversation plus the relevant images | A reviewable proposal with keep, change, and avoid rules | Any need or restriction you never mention |
Trying to make one generated image settle all four jobs is where the process goes sideways. A beautiful render may suggest a palette while getting the furniture footprint wrong. A measured plan may settle the sofa position while saying little about how the room will feel at night.
Choose the job first. The tool choice becomes much easier after that.
What is actually undecided?
Consider a living room with a blue sofa, oak floor, radiator under the window, and a narrow route from the doorway. The owner wants the room to feel warmer and needs a reading light. The sofa and radiator must stay.
There are several possible questions here:
- Which rug and wall colors work with the blue sofa?
- Where can a floor lamp sit without narrowing the route?
- Would rotating the sofa make the room easier to use?
- Is the existing electrical position suitable for the chosen light?
Only the first two belong comfortably in a photo-based concept. Rotating the sofa requires measurements. The electrical question belongs with the room, the product specification, and an appropriate professional.
A useful decision sentence would be:
Test one warmer reading corner beside the existing blue sofa while keeping the window, radiator, floor, sofa position, and doorway route unchanged.
That sentence gives the image a job. It also gives you a reason to reject an attractive result.
Which input has earned a place in the project?
More inputs do not automatically produce a better answer. Add an image or plan only when it carries information the decision needs.
A source photo shows appearance and perspective
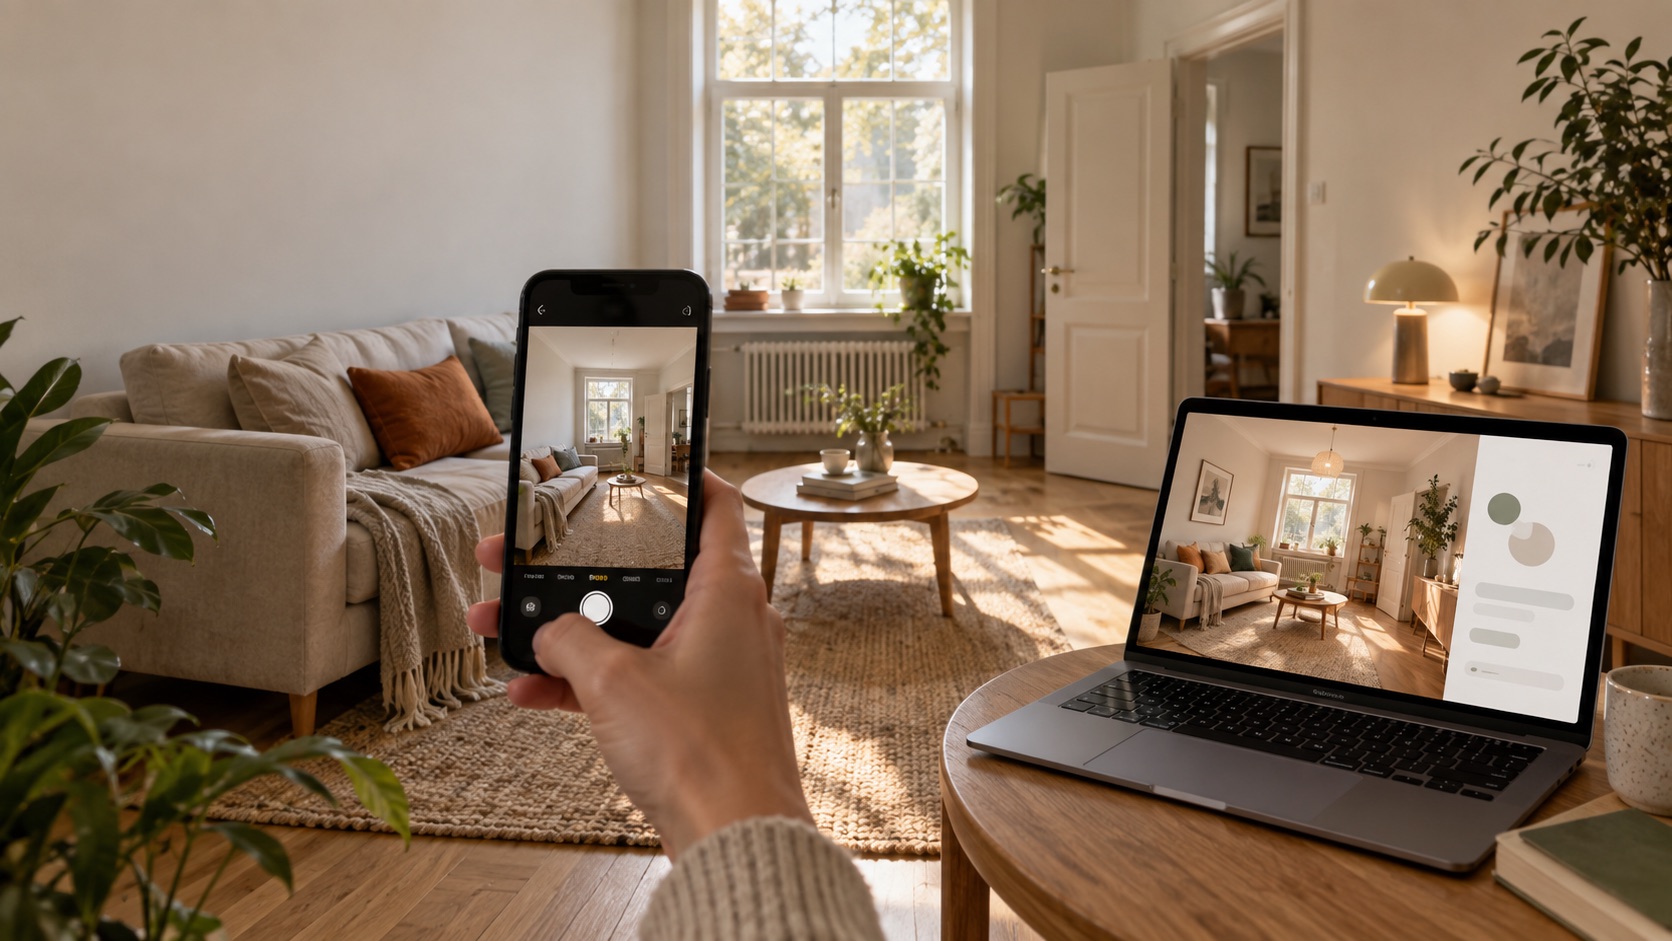
Use a level, well-lit photo that reveals the main wall edges, floor, ceiling line, openings, and awkward fixed features. Do not hide the radiator or column that makes the room difficult. If a close crop makes the problem disappear, the generated design solves a different room.
The separate guide on photographing a room without losing its fixed features covers camera position and source-image checks in more detail. For this workflow, one honest view is more useful than several flattering angles.
A measured plan answers spatial questions
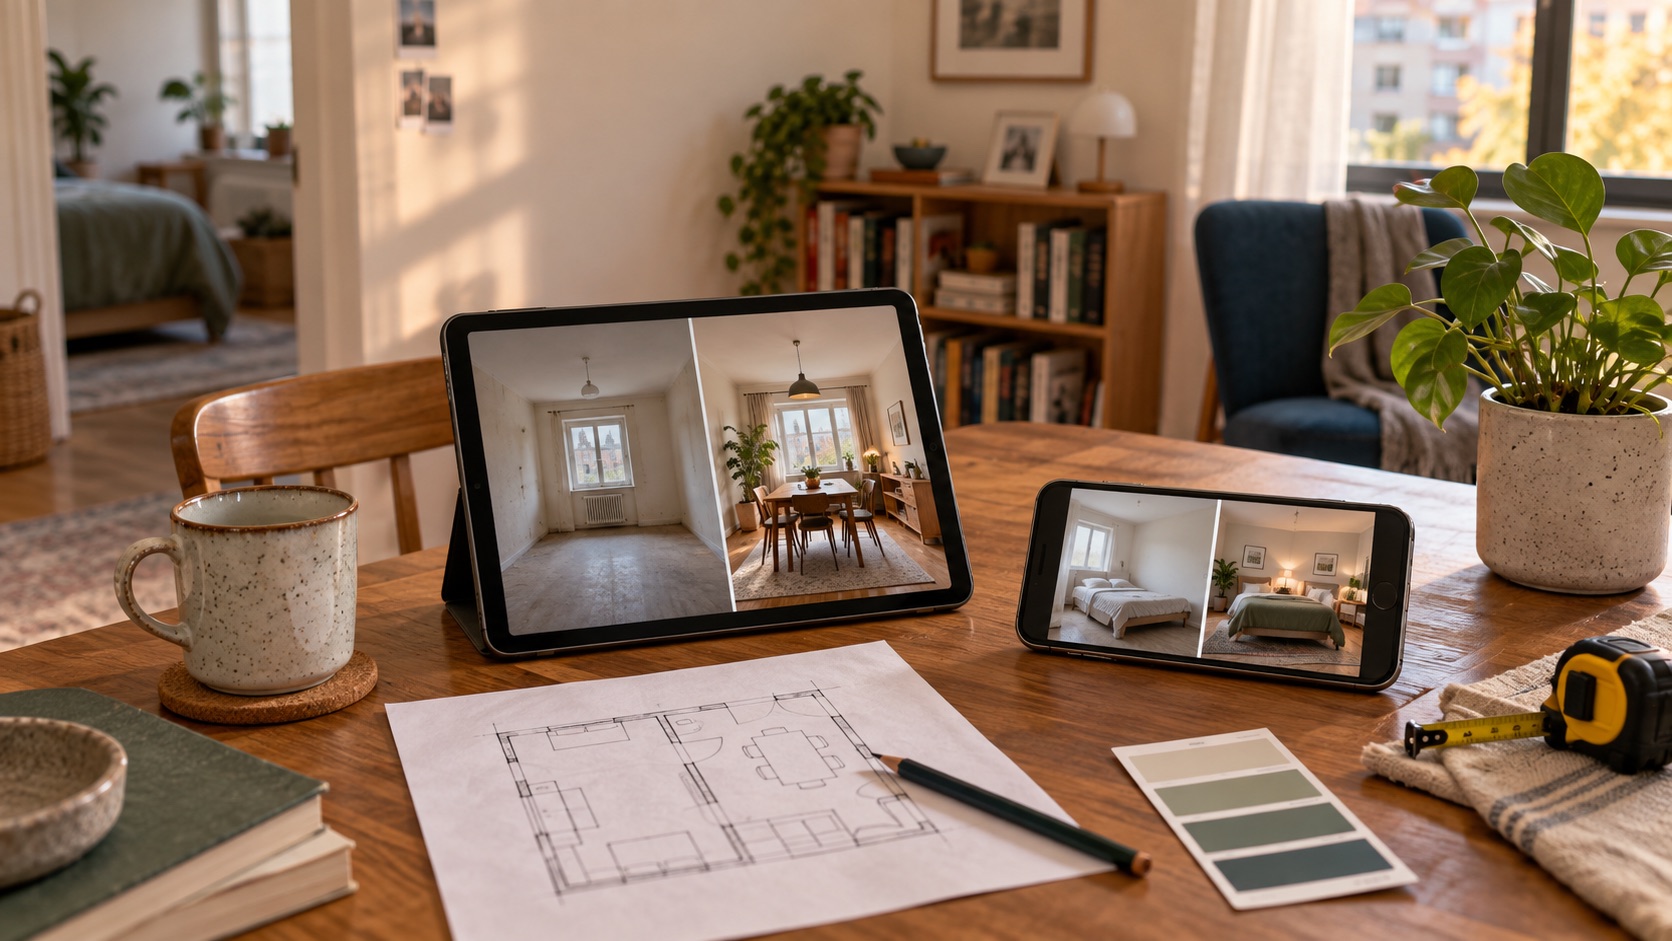
When fit and circulation matter, move the question into a plan. Record wall lengths, openings, fixed installations, and the footprints of furniture that will stay. The site's floor-plan workspace can help explore room relationships, but its generated output remains an early planning concept. Keep your verified measurements outside the image.
RoomSketcher's current AI rendering workflow follows a sound order: settle the important plan information and view before asking AI to make the scene photographic.
A reference image should have a named purpose
Do not attach an inspiration image and ask the model to "make it like this." Say what you want from it: dark timber, quiet contrast, chalky wall texture, low furniture, or warm side lighting.
Adobe's official room makeover tutorial separates the style reference from the composition reference. The same distinction applies here. Your room photo explains the space and viewpoint. The reference explains selected visual qualities.
When the reference carries most of the design direction, use the site's reference-led room design tool instead of forcing every detail into prose.
What should the Agent remember?
Real requests arrive out of order. Someone may mention the radiator, talk about evening reading, reject beige, upload a lamp, and only later remember that a child plays on the rug. A fixed workbench expects those facts to fit into separate controls from the start.
The DwellShift Agent can carry explicit requirements through the conversation and turn them into proposed design options. Before selecting Generate, read that proposal as if it came from somebody else. Does it identify the correct source image? Does the keep list include the radiator and sofa? Is the requested change still one reading corner, or has it expanded into a complete makeover?
Discussion, questions and design options do not start generation. A clear, specific instruction sent with a room photo does: the Agent submits it right away instead of asking for a second confirmation. When you want the pause, ask for options and say not to generate yet. That pause matters because the cheapest mistake to fix is the one still written in the brief.
The Agent cannot recover a constraint you never supplied, and a careful proposal cannot guarantee that the image model will preserve every feature. It gives the generation a better instruction and gives you a visible record when the result drifts.
Write a prompt that can fail usefully
Vague prompts fail vaguely. "Make this room warm and cozy" can change almost anything, so the result tells you very little about what went wrong.
Use a prompt with a visible boundary:
Use the living room photo as the base. Keep the camera view, window, radiator, oak floor, blue sofa, and clear route from the doorway. Test a reading corner beside the sofa with one slim floor lamp, a rust rug, and muted sage textiles. Keep the wall color warm white. Do not add built-in storage, move the sofa, widen the room, or introduce another chair.
If the lamp blocks the route, you know what failed. If the model removes the radiator, you know what to restore. If the palette works, you can keep it while correcting the spatial error.
That is more useful than a dramatic image whose changes cannot be separated.
The first result is evidence, not approval
Open the original photo beside the generated result. Check the quiet parts before the styling catches your attention.
Count the windows and doors. Find the radiator. Compare the floor direction, wall boundaries, sofa position, and route from the doorway. Then ask whether the requested reading corner works. A lamp can look perfectly placed while occupying space the image quietly invented.
Write a short response in the language of decisions:
- Keep the rust rug and warm white wall.
- Restore the radiator below the window.
- Move the lamp to the sofa's other side.
- Remove the extra chair.
If the layout itself is still unresolved, stop editing the render. Work through the room dimensions and the practical ideas in the small living room layout guide, then return with a stronger base.
A good-looking mistake can still be useful
Suppose the first result has the right palette but invents a cabinet. Do not approve the image as a whole, and do not throw away the part that worked.
Record the palette as the accepted decision. Return to the original room photo if the architecture has drifted badly. Ask the next proposal to apply only the accepted rust, sage, and warm-white relationship while restoring the source room. For a narrow finish comparison, the material and color testing method shows how to hold adjacent decisions steady while changing one surface family.
Generated lighting deserves the same skepticism. A warm pool of light may come from a fixture that does not exist or cannot illuminate the room that way. The guide to checking AI lighting against a real room explains what to verify before treating a lighting mood as a plan.
The useful habit is to approve decisions, not pixels.
When should you stop generating?
Stop when the next uncertainty cannot be resolved by another picture.
Measure before buying a sofa, table, rug, cabinet, or light. Check door swings and walking routes against a scaled plan. Request samples when finish and color matter. Verify electrical, plumbing, ventilation, structural, accessibility, fire-safety, and building work with the relevant qualified person.
An AI image can help you say, "I want this material relationship and this lamp position." It cannot confirm that the lamp fits, that the circuit supports it, or that the generated product exists.
For readers who want to try the workflow, the current DwellShift trial details were verified on September 27, 2026. New verified accounts receive 10 credits for 14 days, and each output costs 5 credits. That covers two outputs. Free results include site branding and are intended for personal use. Uploads and completed results remain private to the account rather than appearing in the public Ideas gallery.
Use those two outputs on one decision: the first to expose whether the brief works, the second to correct the stronger direction. If your request still sounds like a paragraph rather than a preset, bring it into a new room design conversation and ask for options before spending either output.
From reading to reimagining
Explore these ideas in your own space
Find a tool for the next step in your project.