
AI room planner from a photo: ideas first, measurements next
An AI room planner from a photo can suggest furniture placement and style, but it cannot prove fit. Use this photo-to-measured-plan workflow before buying.
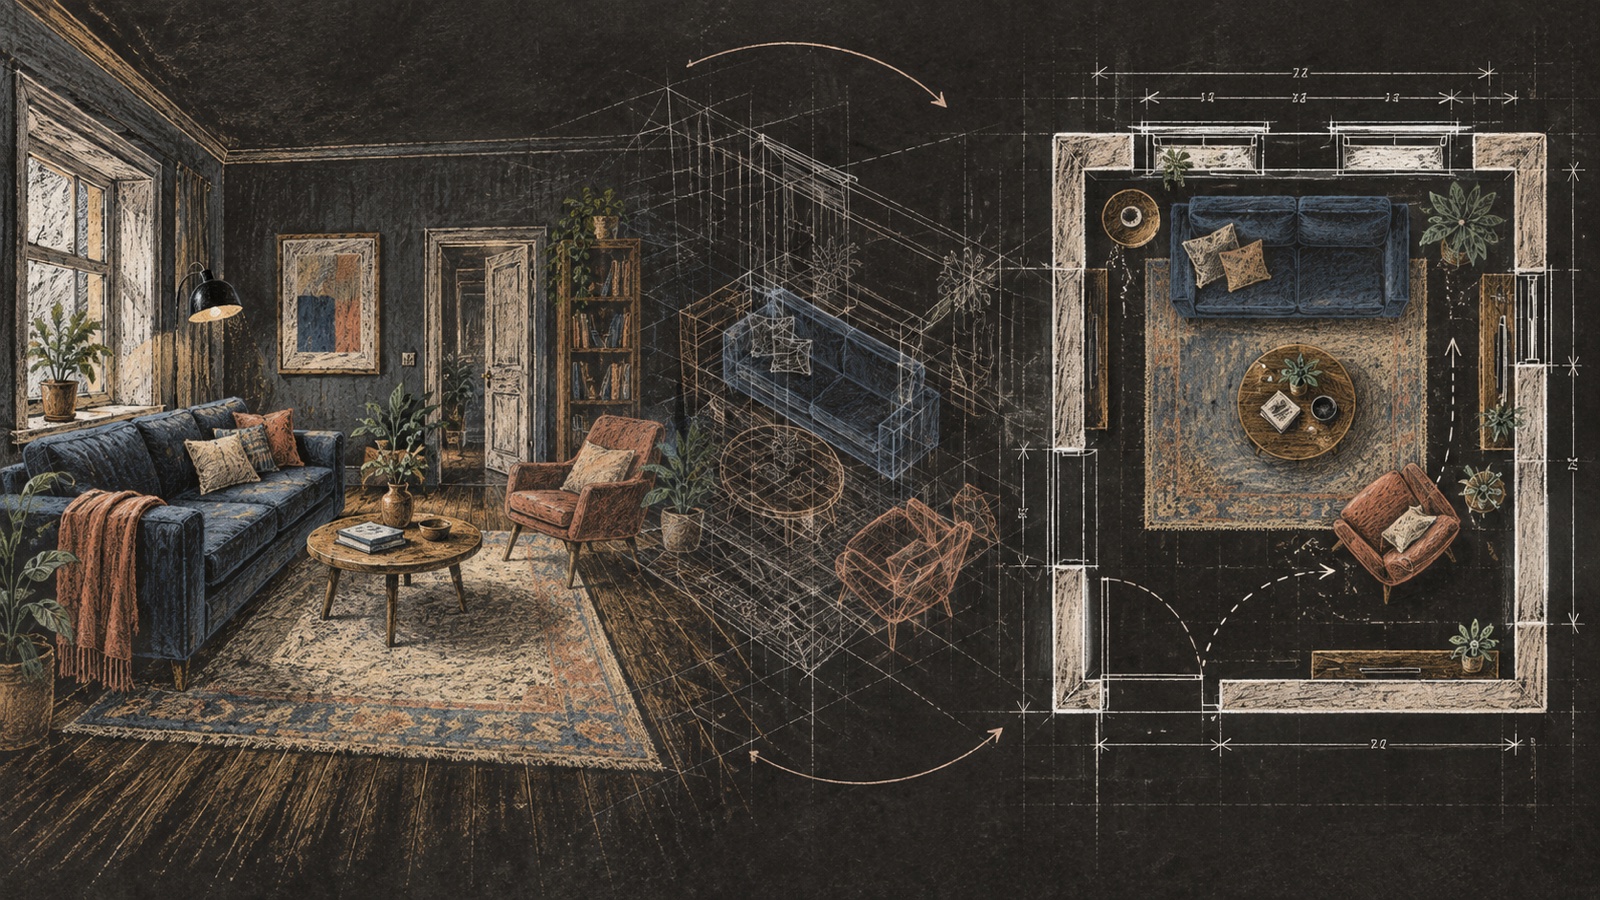
An AI room planner from a photo is useful for deciding where a sofa might feel balanced, whether a reading chair crowds the view, or which layout makes a room look calmer. It is not proof that the sofa clears the door, leaves enough walking space, or fits the wall.
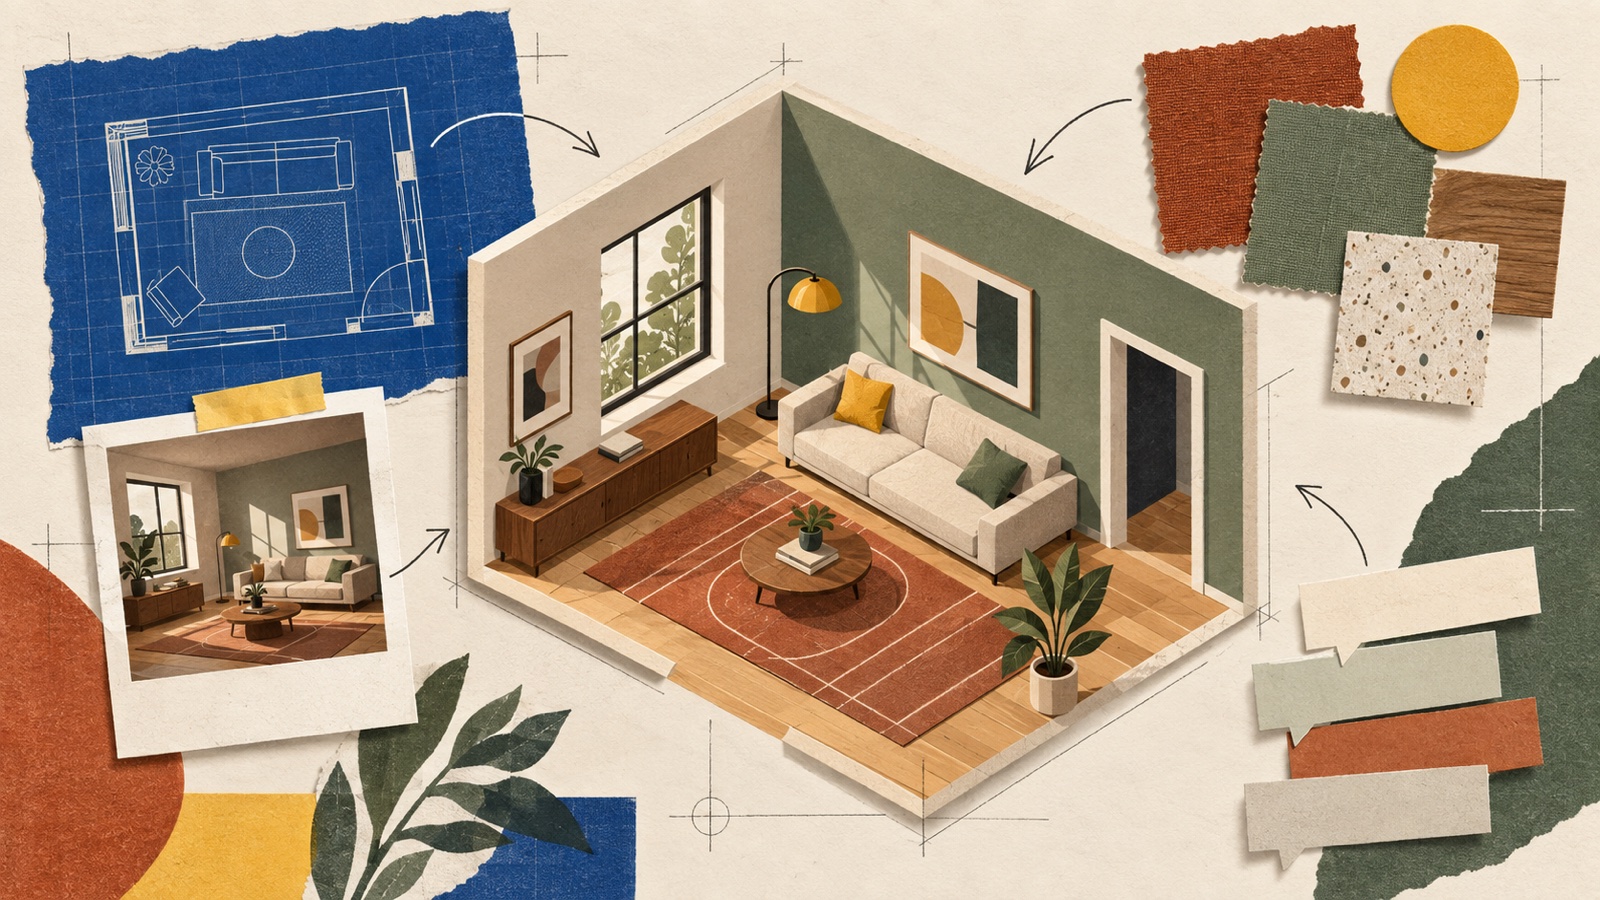
The reliable workflow has two passes. Use the photo for visual direction. Then rebuild the promising arrangement with verified room and furniture dimensions. A convincing image can narrow the choices; a measured plan decides whether one of them deserves your money and effort.
DwellShift publishes this guide and recommends its own tools. The product details below come from the current site configuration. We did not run a cross-product accuracy test for this article, and no generated image should be treated as a measured drawing.
The cover is an AI-generated chalk-pastel concept, not a product screenshot, room scan, or tested layout.
What can an AI room planner learn from one photo?
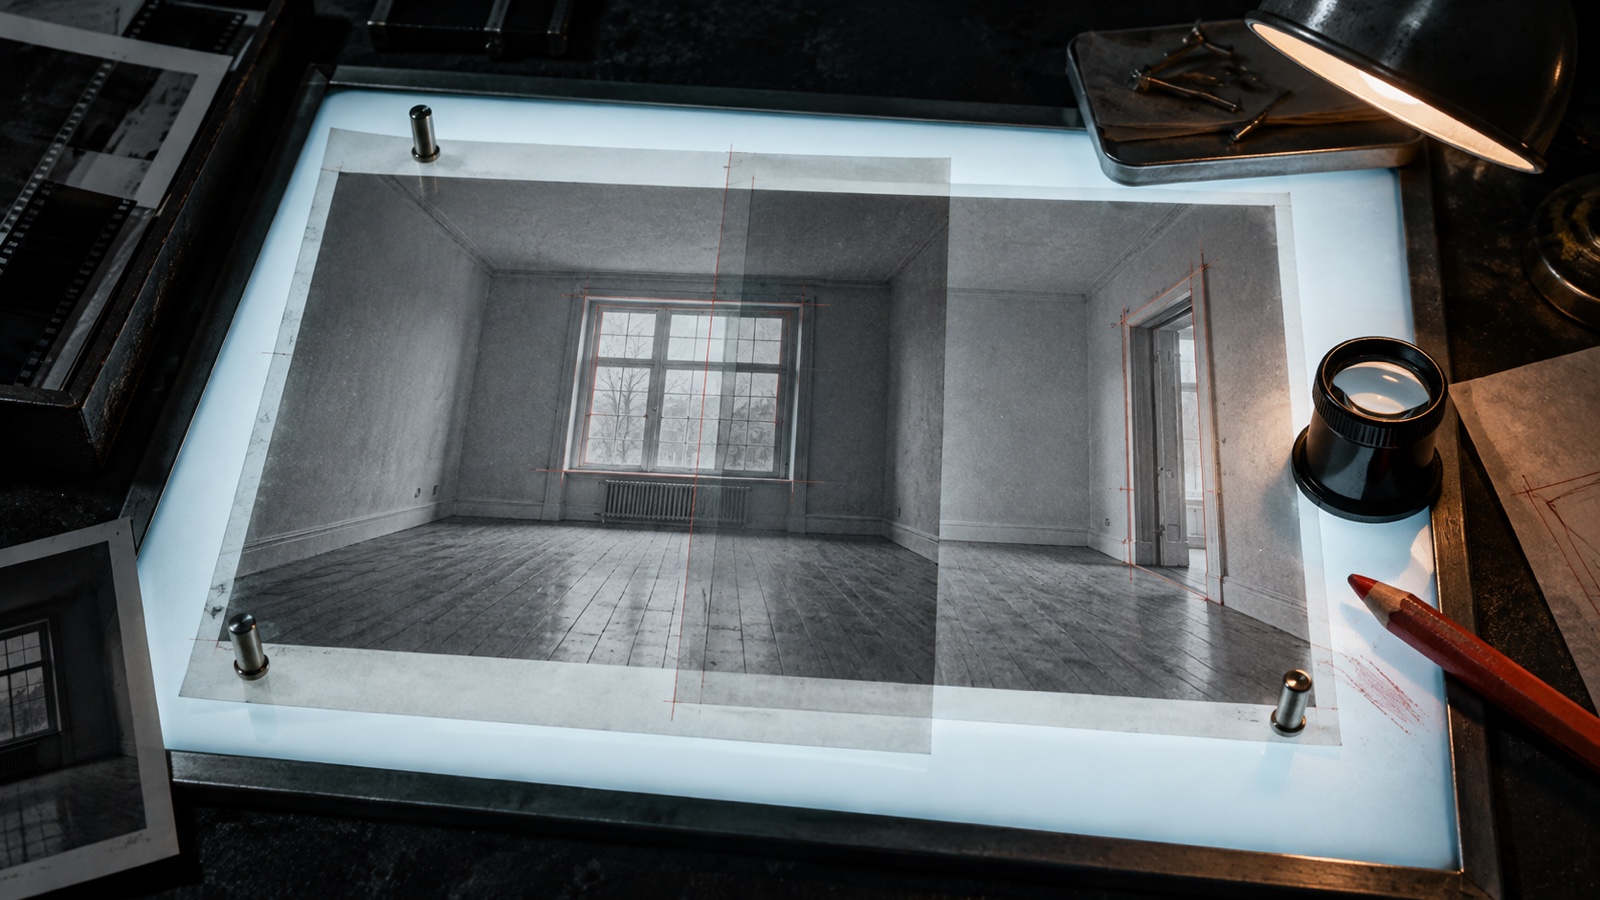
A clear photograph contains useful visual evidence: camera perspective, visible walls, openings, furniture relationships, light direction, colors, and the amount of exposed floor. A model can use those clues to propose a layout or render a different arrangement from roughly the same viewpoint.
The photo does not contain a verified scale. Part of the room may sit outside the frame. A wide-angle lens can stretch the nearest chair and compress the far wall. The model may infer depth from familiar objects, but inference is not measurement.
That creates a simple boundary:
| Your question | Start with | What the result can support | What still needs checking |
|---|---|---|---|
| Would the room feel better with the sofa facing the window? | Room photo | Visual balance, orientation, and mood | Sofa footprint, glare, and walking clearance |
| Can this exact sectional fit between the door and radiator? | Measured plan plus product dimensions | Alternative positions at known scale | Delivery route and installation conditions |
| Does a rust chair work with the blue rug? | Room photo and chair reference | Color, shape, and visual weight | Exact product color and physical size |
| Can the room support a desk and a guest bed? | Measured plan | Zones and competing footprints | Daily setup, chair movement, sockets, and storage access |
Photo-based planning is strongest when the decision is visual. Measured planning is necessary when the decision is spatial.
Why a room scan is different from a photograph
A normal room photo records light on a flat image. A room scan collects more spatial information across movement or through a depth sensor. Apple says its RoomPlan framework uses the camera and LiDAR on supported iPhone and iPad devices to create a 3D floor plan with dimensions for recognized components. Google's ARCore Depth API builds depth images from device motion and, when available, hardware sensors.
Those systems still require review, but they explain why “upload one photo” and “scan the room” are not interchangeable promises. If an app accepts only a still image and gives you a photorealistic redesign, treat its furniture sizes and clearances as estimates unless the app separately asks for scale or dimensions.
Build a better input bundle before asking for a layout
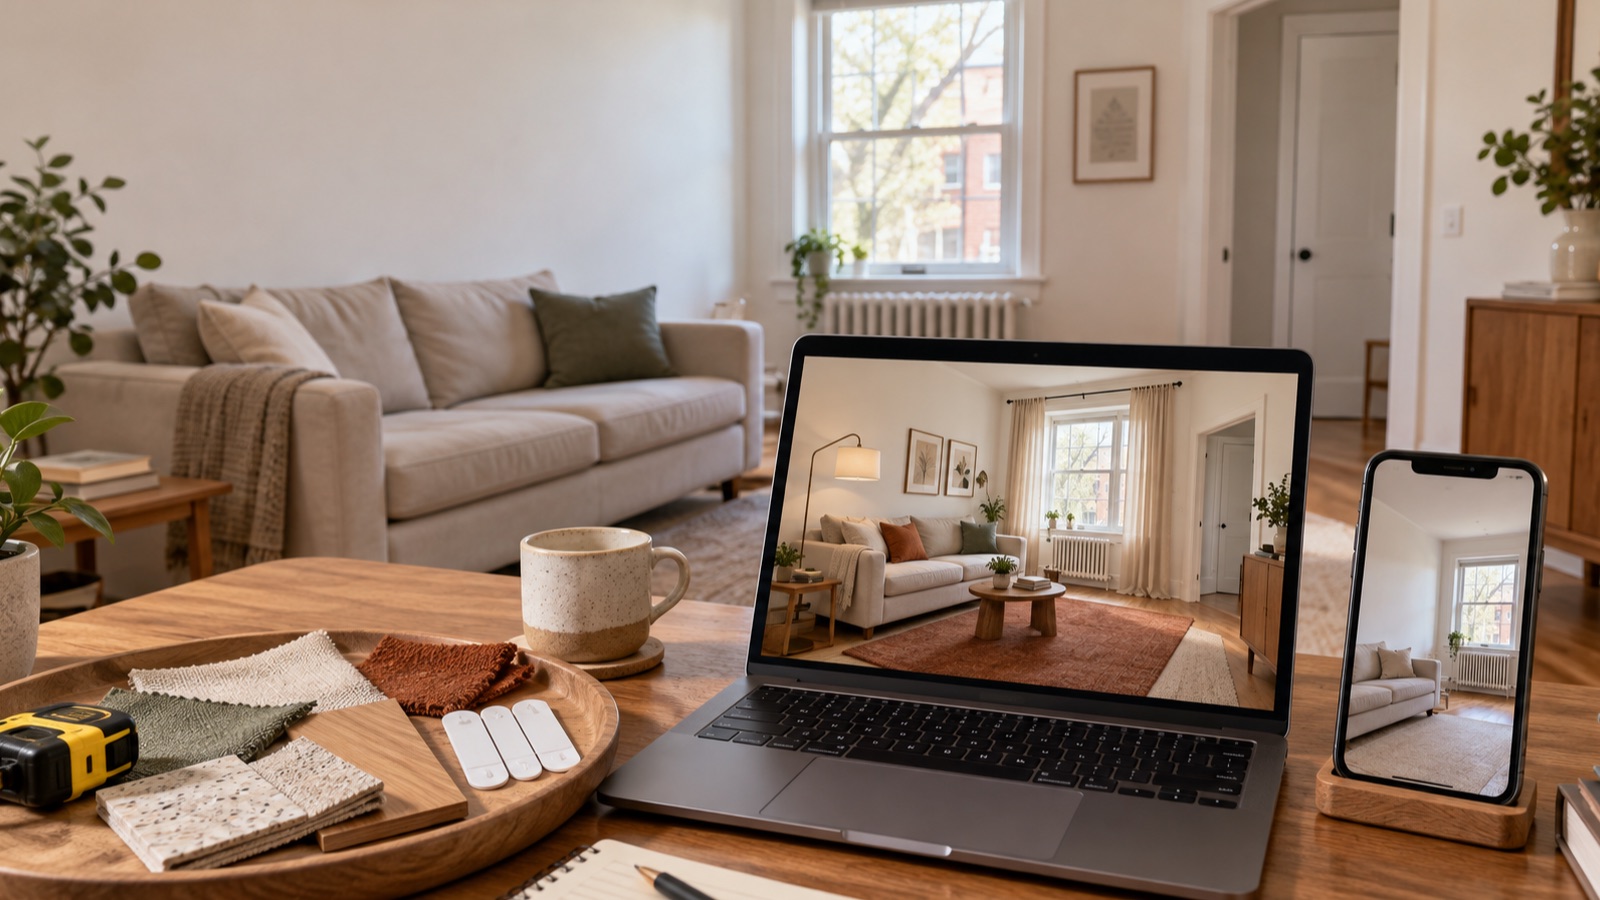
One photo can start the conversation. A small evidence bundle makes the next step more useful.
Prepare four things:
- A level main photo. Include the floor-wall junction, windows, doors, and the area where furniture may move. Avoid an extreme wide-angle view.
- A second view from another corner. This reveals openings and wall sections hidden from the main camera.
- A short measurement note. Record wall lengths, ceiling height when relevant, opening widths, door swings, radiators, built-ins, and the main route through the room.
- The real furniture dimensions. Use width, depth, and height from the product page or your own measurements. Add delivery dimensions for large pieces.
Do not ask the image to preserve everything by implication. Write a keep list. “Keep both windows, the left-hand door, radiator, oak floor, blue rug, and 210 cm sofa” is easier to audit than “keep the room the same.”
Use a two-pass photo-to-layout workflow
The first pass should explore one layout question without pretending to settle it.
Pass 1: ask the photo a visual question
Upload the clearest room view to a photo-based room design tool. Name the fixed elements, the furniture that must remain, and the one relationship you want to test.
For example:
Keep the two windows, left-hand door, radiator, oak floor, blue rug, and existing sofa. Show the sofa facing the long wall, with one reading chair near the right window. Keep a clear-looking route from the door to the window. Do not add built-ins or change the camera view.
This brief asks for a visible arrangement. “Clear-looking” is deliberate: the image can suggest whether the route reads as open, but it cannot certify its width.
Generate a small number of controlled alternatives. If every version changes the architecture, style, furniture, and lighting at once, you cannot tell whether the layout idea improved.
Pass 2: move the survivor onto a measured plan
Take the strongest arrangement into a floor-plan workspace. Add the real room dimensions, openings, fixed installations, and furniture footprints. Check:
- the main walking path
- door and cabinet swings
- chair pull-out space
- access to windows, radiators, outlets, and storage
- viewing distance and glare where a screen is involved
- the route used to deliver large furniture
The floor-plan output is still an early planning aid. Keep your verified measurements separate and recheck critical dimensions in the room.
Pass 3: return to the photo only if the plan changed the idea
If measurement forces the sofa closer to the wall or removes a chair, generate one final visual using the corrected arrangement. The image now answers a narrower question: does the feasible version still create the feeling you wanted?
This back-and-forth is more useful than producing ten polished layouts that were never checked.
Where the DwellShift Agent helps
A room-layout brief often contains information that does not fit neatly into a row of controls: a sofa must stay, a door opens inward, the desk is used twice a week, the dog bed needs morning light, and one walkway matters more than perfect symmetry.
DwellShift's Agent can carry those requirements through the conversation, organize them into a proposal, and keep the source images, brief, and later results inside one project. That flexibility is useful when the request shifts from “show another arrangement” to “restore the radiator, keep the accepted chair, and turn this into a floor-plan study.” If you want to understand the available starting points first, browse DwellShift's room design options.
The Agent does not turn an unmeasured photo into an exact survey. It can remember the dimensions you provide; it should not invent the ones you did not. Generation begins only after you review and confirm the proposal and its credit cost.
As of October 4, 2026, new verified accounts receive 10 trial credits that expire after 14 days. Each output costs 5 credits, so the trial covers two outputs, created one at a time. Trial results carry DwellShift branding and are for personal use. Discussion and proposal review do not spend credits.
Audit a generated furniture layout in five minutes
Put the original and generated image side by side. Review the room shell before judging the styling.
- Count the windows and doors, then compare their positions and proportions.
- Check fixed features: radiators, columns, vents, built-ins, sockets, and floor direction.
- Compare the apparent size of furniture that should be unchanged.
- Trace the main route through the room and note every pinch point.
- Move every promising idea to the measured plan before shopping or lifting furniture.
Our separate window and door preservation test shows why this audit matters: major openings can remain recognizable while smaller architectural details still drift. Layout confidence should come from the measurements, not the realism of the render.
Common mistakes when planning from a photo
Treating perspective as scale. A sofa near the camera may look larger than a longer sofa at the back of the room.
Using a cropped photo. If the door or circulation route sits outside the frame, the proposed layout can solve only the visible half of the room.
Changing too much at once. A new layout, palette, lighting scheme, and furniture set make it difficult to judge placement.
Trusting invented furniture. A generated chair may not correspond to a purchasable product or physically plausible dimensions.
Skipping the delivery route. A piece can fit the room and still fail at the stair, elevator, hallway turn, or door.
For a room where every inch matters, the small living room layout guide starts with movement and fixed constraints before furniture style.
Questions people ask about AI room planning from a photo
Can AI arrange furniture from a room photo?
Yes. It can generate a visual suggestion for furniture placement from the photographed viewpoint. The arrangement remains a concept until you rebuild it with real room and furniture dimensions.
Can a photo tell an AI the size of my room?
Not reliably by itself. Familiar objects and perspective provide clues, but lens distortion, cropping, and hidden surfaces create uncertainty. Give the tool verified measurements or use a supported room-scanning workflow when scale matters.
Is a room scan accurate enough to order furniture?
A scan can provide better spatial data than a still image, but review its walls, openings, and dimensions. Check the product footprint and delivery route manually before ordering.
Should I upload an empty or furnished room?
Use a furnished photo when you need to preserve existing pieces or judge a replacement beside them. An empty view exposes more floor and wall boundaries. In either case, include a second angle and a written keep list.
Can DwellShift make an exact floor plan from one room photo?
No. DwellShift can help you explore a floor-plan concept and keep supplied constraints connected to the project, but a single photo is not a verified dimensional survey. Add measurements and validate the output before using it for purchasing, construction, or installation.
What is the best first prompt for furniture placement?
Name the fixed shell, the furniture that stays, one relationship to test, and what must remain clear. Avoid asking for a complete restyle in the same prompt. A focused first result is easier to compare with both the original photo and the measured plan.
Let the image propose and the measurements decide
An AI room planner from a photo earns its place early in the process. It turns an abstract layout idea into something you can point at, reject, or refine. The useful result is not the most photorealistic one. It is the arrangement that survives the move from image to measurements.
Start with one visual question, keep the room shell explicit, and measure the promising answer. When several constraints need to stay attached to the same project, start a photo-to-layout room design project and review the Agent's proposal before generating.
From reading to reimagining
Explore these ideas in your own space
Find a tool for the next step in your project.