
Aging in Place: An Interior Design Workflow
A room-by-room workflow for interior designers creating adaptable homes with better circulation, lighting, storage, and client choice.
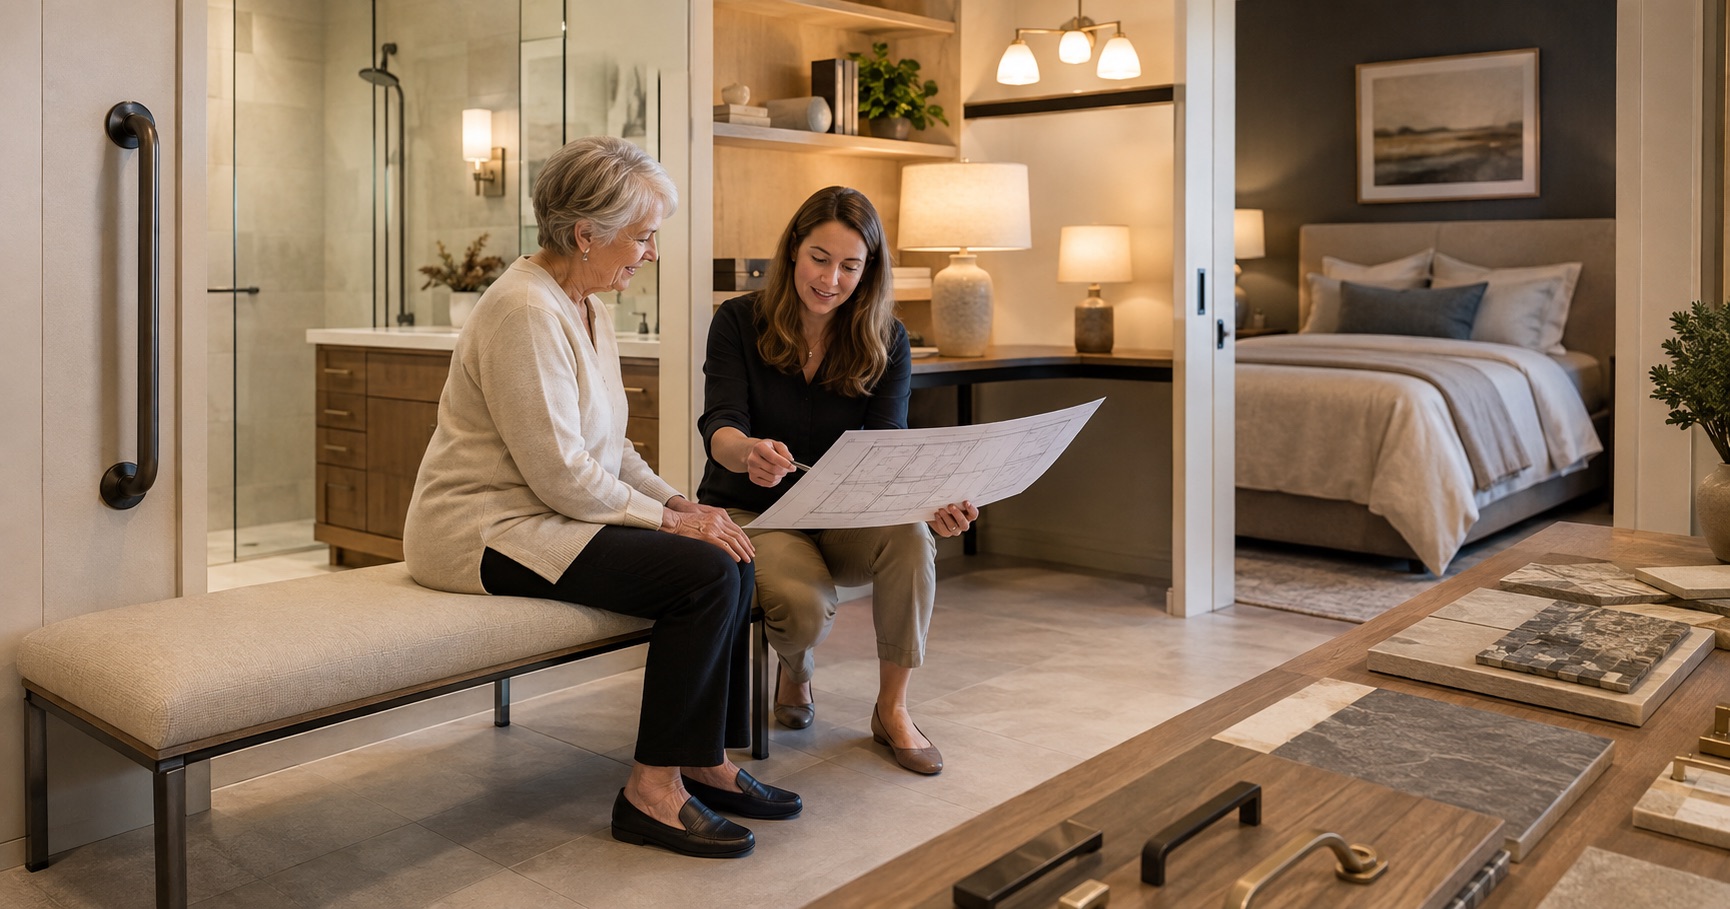
Aging in place design should not make a home look like a care facility waiting for its occupant to need it. The designer's task is subtler: remove avoidable barriers, make future changes easier, and preserve the client's sense of home.
That work begins with the person, not a generic "senior" checklist. The World Health Organization's age-friendly guidance stresses that older adults have diverse capacities, circumstances, needs, and preferences. A beautiful project can still fail if it assumes that everyone moves, sees, hears, reaches, and processes space in the same way.
Ask about routines before proposing features
Walk through a normal day with the client. Ask where they enter with bags, where they sit to put on shoes, what they carry between rooms, which cupboard is awkward, how they use the bathroom at night, and whether family or carers may stay in the future.
Observe the friction without turning the conversation into a diagnosis. Useful prompts include:
- Which movement in the home already feels uncertain or tiring?
- Where do you need a hand free but currently use it for balance?
- Which task needs brighter or more even light?
- What do you reach for every day?
- Which rooms must remain private if support is needed later?
- What existing detail makes the home feel like yours?
These answers create a design brief. "Install grab bars" is a product instruction. "Make bathing feel independent and calm" is a design problem that can shape layout, lighting, storage, surface selection, and future reinforcement.
Draw the route, not just the rooms
A floor plan can meet a room schedule while making daily movement difficult. Trace the client's common routes:
| Route | What to test |
|---|---|
| Street or parking to entry | Level changes, weather protection, lighting, keys, packages |
| Entry to kitchen | Clear width, turning, places to set items down |
| Bedroom to bathroom | Night lighting, thresholds, door operation, slip risk |
| Kitchen work sequence | Reach, carrying distance, landing surfaces, seating |
| Living area to outdoors | Track height, handle force, visual contrast, resting point |
The WHO housing guidance identifies stairs, uneven floors, and restricted passages as barriers, while adaptable homes can support continued independence. Exact clearances and fixture requirements depend on jurisdiction and project type, so confirm them with the applicable code and qualified accessibility professionals.
Design the bathroom as a sequence
Bathrooms concentrate water, hard surfaces, changing posture, and reduced privacy. Treat the room as a sequence from door to basin, toilet, shower, storage, and exit.
Look for:
- a stable, low-glare route with no avoidable threshold
- a place to sit before and during bathing
- controls reachable without entering the water stream
- wall construction that can support rails where needed
- storage available without deep bending or high reaching
- clear contrast between floor, wall, fittings, and edges
- lighting that supports grooming without reflected glare
The AARP HomeFit Guide is a useful illustrated starting point for household conversations. It is not a substitute for local regulation or an individualized occupational therapy assessment.
For a compact room, the small bathroom planning guide adds fixture, door, storage, lighting, and cleaning checks to this sequence.
The American Occupational Therapy Association recommends a central role for occupational therapy practitioners on home modification teams. Bring that expertise in when movement, cognition, daily activities, or a changing health condition materially shapes the brief. The designer can then translate an individualized assessment into a coherent spatial and material response.
If the client resists a visible support feature, do not hide the issue. Offer integrated options: a continuous rail that belongs to the hardware family, a bench built into the shower composition, or backing installed now so a later fitting does not require opening finished walls.
Make the kitchen easier to adapt
An adaptable kitchen does not require every worktop at a different height. It needs useful choices and fewer forced movements.
Consider a seated preparation point, accessible everyday storage, drawers in place of deep base cupboards, clear landing areas beside appliances, and controls that are legible and reachable. Keep a safe work route even when two people use the room.
Before developing cabinetry, test the plan with the client. The kitchen layout guide explains the basic work patterns; for an aging in place brief, add reach, strength, balance, vision, and future assistance to the evaluation.
Use lighting for orientation as well as atmosphere
A single dramatic pendant may photograph well and still leave the route from bed to bathroom in shadow. Layer light around tasks and movement:
- even ambient light for orientation
- focused task light at work surfaces, mirrors, and reading positions
- low-level night lighting that does not require crossing a dark room
- daylight control to reduce glare and sharp contrast
- simple controls located where the task begins
Good lighting also helps edges, handles, switches, and changes in level read clearly. Test finish samples under the specified light, especially glossy stone, pale floors, dark worktops, and reflective hardware.
The bedroom lighting guide offers a starting layer plan. The aging in place review adds route clarity, control location, glare, and the consequences of a failed lamp.
Show adaptations as part of the design language
Clients sometimes reject useful changes because they can only imagine institutional products. This is where a controlled visual study earns its place.
Create two or three views that keep the same room and compare one design question:
- integrated shower bench versus movable seat
- contrasting hardware versus low-contrast hardware
- continuous wall rail expressed as part of the joinery line
- open circulation with the same furniture character
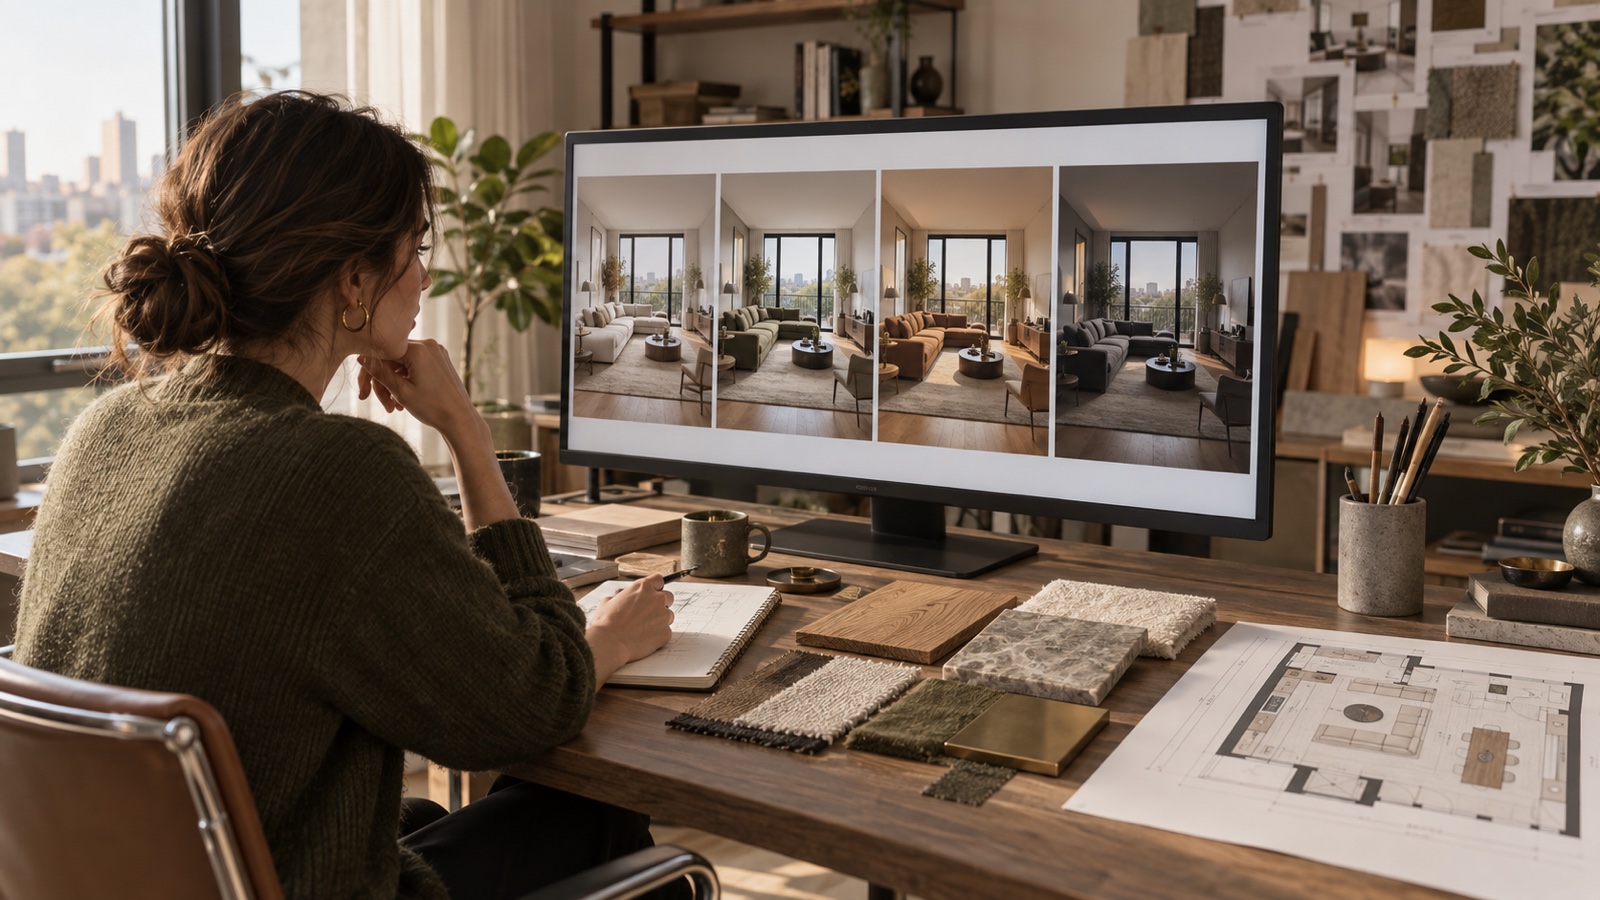
DwellShift can help create these early studies in the AI Interior Design workspace. Label them as concept images. A generated view cannot confirm clearances, fixing strength, slip resistance, lighting levels, or compliance.
Write an adaptation plan beside the specification
Not every future feature needs to be installed now. Divide the work into three columns:
| Timing | Typical decision |
|---|---|
| Install now | Layout, level access, lighting, easy hardware, useful storage |
| Prepare now | Wall backing, power, space allowance, adaptable joinery |
| Review later | Equipment tied to a future individual need |
Record where preparation is concealed. A future owner or contractor should not have to guess which shower wall contains reinforcement or whether a cabinet can be removed without replacing the floor.
Review the home with the client again
At concept stage, walk through the daily routes on plan. At detailed design, use samples, mockups, and control locations. Before handover, test doors, drawers, lighting scenes, handles, and transitions with the client where practical.
The best aging in place design is not a collection of visible precautions. It is a home that asks less effort from its occupant, offers more choice, and can change without being torn apart. That is not a specialist aesthetic. It is careful residential design.
From reading to reimagining
Explore these ideas in your own space
Find a tool for the next step in your project.