
Kitchen design ideas: plan the expensive decisions first
Kitchen design ideas become useful when you separate fixed constraints, daily work, storage, surfaces, and character before choosing cabinets.
The most useful kitchen design ideas arrive in an order. A cabinet color is easy to change in a concept image. A plumbing move, blocked appliance door, or poorly placed extraction route is expensive to discover after ordering.
Begin with what the room and household require. Then decide the work sequence, storage, light, and materials. Style comes into focus faster when the practical choices stop moving underneath it.
If you want to keep those connected decisions together, you can turn them into a kitchen room design brief with DwellShift. Its Agent can hold the source photo, fixed features, household routines, and requested variations in one proposal before an image is generated.
DwellShift publishes this guide and recommends its own product. We have not installed or performance-tested the products mentioned here. A generated image is a visual study, not a measured kitchen plan, product specification, or approval for plumbing, gas, electrical, ventilation, or structural work.
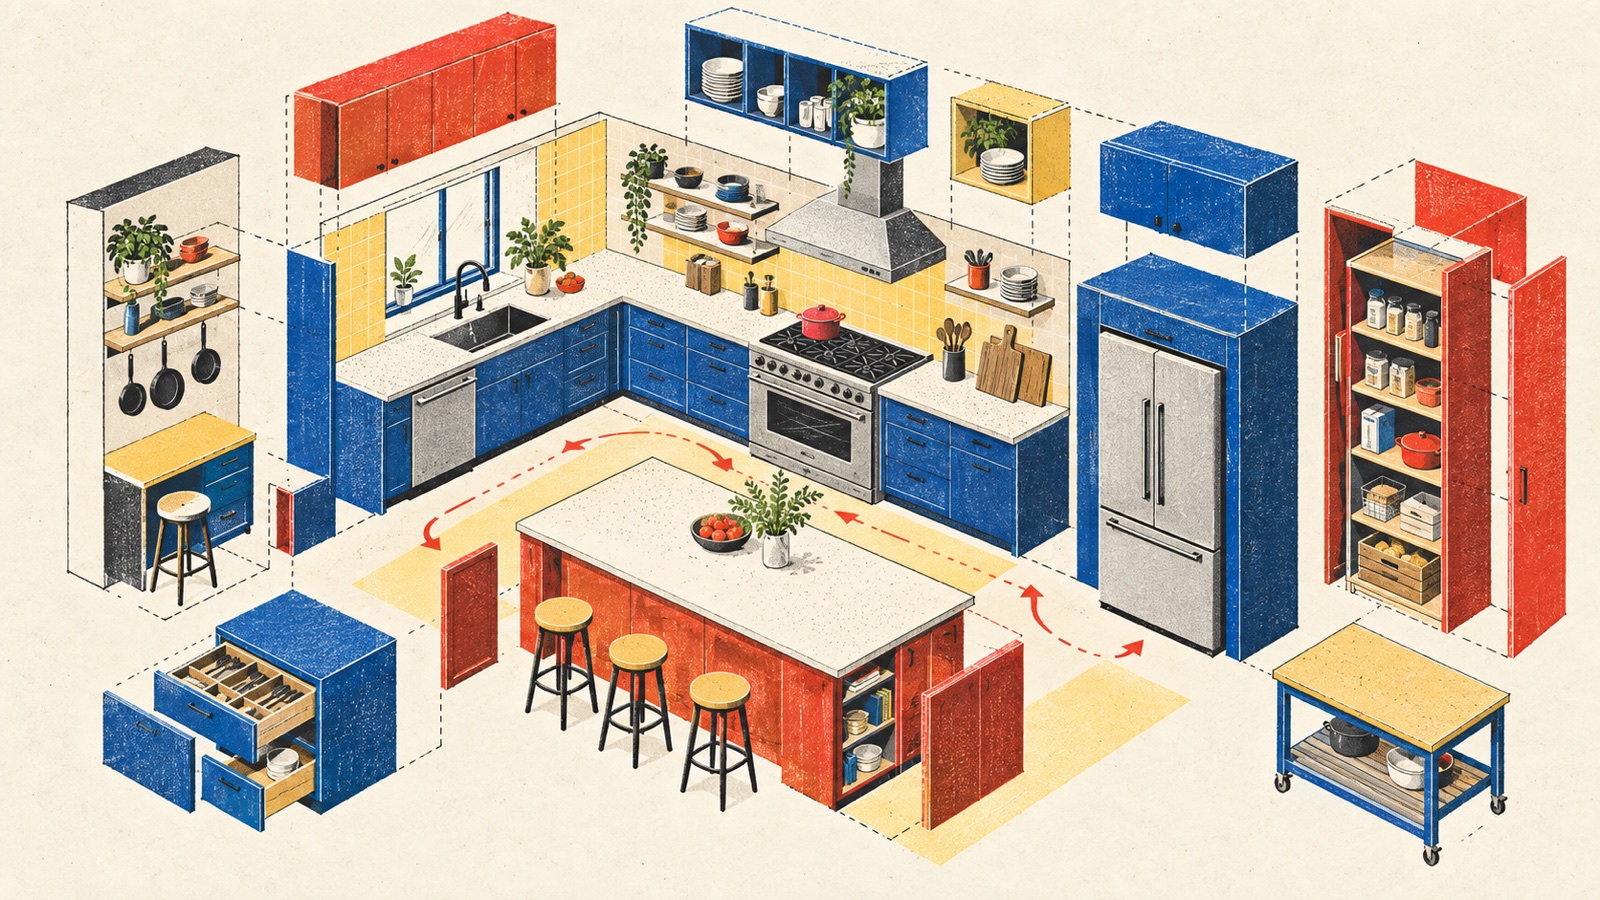
The cover is an AI-generated risograph-style illustration. It is not a construction drawing or evidence that the pictured clearances work. AI assisted the search research, structure, and draft.
Settle five decisions in order
You do not need to finish every detail before looking at finishes. You do need to know which later choices depend on earlier ones.
| Decision to settle | Question to answer | What can wait |
|---|---|---|
| Fixed constraints | What openings, services, structure, and appliances must remain? | Door style and hardware |
| Daily work | How do groceries, food, dishes, waste, and people move? | Decorative accessories |
| Storage | Which objects need an exact home near a task? | Display styling |
| Light and ventilation | Where must work light, power, and extraction serve the plan? | Pendant shape |
| Material character | Which surfaces need durability, warmth, contrast, or quiet? | Small color accents |
This order protects the expensive decisions without making the kitchen feel clinical. It also gives every attractive idea a job.
1. Make an honest record of the room
Measure wall lengths, ceiling height, doors, windows, and the space each opening needs to operate. Add radiators, columns, boxed pipes, vents, outlets, switches, and the current water, waste, gas, and electrical positions. Record floor level changes and any wall that may contain structure.
Measure appliances with their doors open. A refrigerator specification may not show how far a handle projects or whether a nearby drawer can open at the same time. Photograph model labels and utility connections for the items that will remain.
IKEA's current kitchen measuring guidance similarly asks planners to document openings, services, vents, obstacles, and door movement. Use a qualified local professional to verify the final survey and requirements before ordering fixed components.
If you are still choosing between a galley, L, U, one-wall, island, or peninsula arrangement, use the separate kitchen layout comparison. This article assumes the broad layout is plausible and focuses on making it coherent.
2. Design around repeated sequences
Forget the staged bowl of lemons for a moment. Write down what happens on an ordinary morning and during the most demanding meal of the week.
Groceries arrive, chilled food goes away, vegetables are washed, ingredients are prepared, pans move to heat, dishes move to the sink or dishwasher, and clean items return to storage. Coffee, packed lunches, pet food, baking, and recycling may create separate loops.
Mark each sequence on the plan. Look for crossings, especially when one person is cooking and another wants the refrigerator, kettle, or waste bin. An outer-edge drinks station may help more than another bank of cabinets. A preparation surface beside the sink may matter more than a long counter on the opposite side.
Ideas become stronger when they shorten a frequent awkward sequence. They become weaker when they add a feature that the household must walk around.
3. Give storage to objects, not categories
"More storage" is too vague to design. List the awkward objects first: stock pot, mixer, trays, recycling, bulk groceries, cleaning products, step stool, pet supplies, lunch boxes, and the appliances that currently occupy the counter.
Give everyday items the easiest reach and seasonal items the less convenient zones. Place dishes where unloading is simple. Put oils and tools near preparation without crowding the heat source. Keep chemicals in a location appropriate for the household.
Then decide what should be visible. Open shelves can reduce the visual mass of upper cabinetry and keep a few useful objects close. They also collect dust and cooking residue. A narrow display area paired with generous closed storage often carries more character than shelves across every wall.
One tall cabinet wall can absorb pantry goods and appliances, but it may also darken the room or make a doorway feel pinched. Draw the full elevation and view it from the adjacent room before committing.
4. Protect the work surfaces
Countertop length is not the same as useful landing space. A long island cannot replace the short piece of counter needed beside the refrigerator, oven, or sink.
Draw open doors and drawers over the plan. Add a person standing at each active station. Test whether another person can pass and whether a hot pan, wet dish, or grocery bag has somewhere immediate to land.
This is also where a fashionable appliance garage can fail. It may hide clutter while consuming the depth needed to operate a toaster or coffee machine. Check the door mechanism, heat, ventilation, outlets, and usable surface with the appliance in place.
Use current product documents, professional planning guidance, local code, and an installer who understands the whole assembly. Do not borrow a single clearance number from an inspiration image.
5. Plan extraction, light, and power early
The cooking position is tied to extraction. The U.S. EPA's remodeling guidance explains that cooking creates moisture and pollutants and recommends a correctly sized range hood exhausted outdoors. The suitable system depends on the appliance, duct route, home, and local requirements, so involve the appropriate professional before a visual idea hardens into a plan.
Put work light over the surface, not behind the person using it. Under-cabinet light may help preparation. A table or island may need a different source, while evening use benefits from dimmer ambient light. Review glare on glossy counters and sight lines from nearby seating.
List the appliances that will stay plugged in. Decide where outlets and switches belong while elevations are still flexible. A clean rendering can quietly omit every cord and leave the real countertop less usable.
6. Build one material family
Choose surfaces by the work they do. Counters meet heat, water, stains, edges, and repeated cleaning. Floors meet spills, grit, chair movement, and standing. Cabinet fronts meet hands. Backsplashes meet grease and seams.
Collect real samples and place them together under the room's daylight and proposed electric light. Look for a shared undertone or a deliberate contrast. A warm wood, cool gray stone, blue-white wall, and yellow metal can each be attractive alone while fighting as a group.
Limit the loudest pattern to a place where cuts, outlets, and corners will not break it into fragments. If the counter already has strong movement, a quieter backsplash may let it read. If cabinets are simple, a more expressive floor or color can carry the room.
The material comparison workflow explains how to compare one surface change at a time before confirming it with physical samples.
7. Add character through something you will keep
A kitchen feels personal when a decision connects to the household, not when every current trend appears at once.
That may be a painted pantry, a table with marks from daily use, visible cookbooks, a deep color around one cabinet run, a handmade tile, or hardware that is comfortable to grip. It may also be an inherited cabinet or existing floor that becomes the starting point instead of waste.
Choose one or two character moves with enough scale to matter. Repeat them lightly. Leave the remaining surfaces calm enough for food, tools, and people to be visible.
Compare one controlled variation
Use a clear photo and a short preservation list. For example:
Keep the window, door, sink wall, range position, oak floor, and camera view. Replace the upper cabinets on the long wall with one shelf and a full-height pantry at the far end. Use deep blue lower cabinets, warm off-white walls, and a quiet pale counter. Keep all appliance sizes and openings unchanged. Change nothing else.
Ask for options before generation if the pantry position or color needs discussion. Then generate one controlled direction. Reject any image that moves an opening, enlarges the room, shrinks an appliance, hides ventilation, or invents unsupported structure.
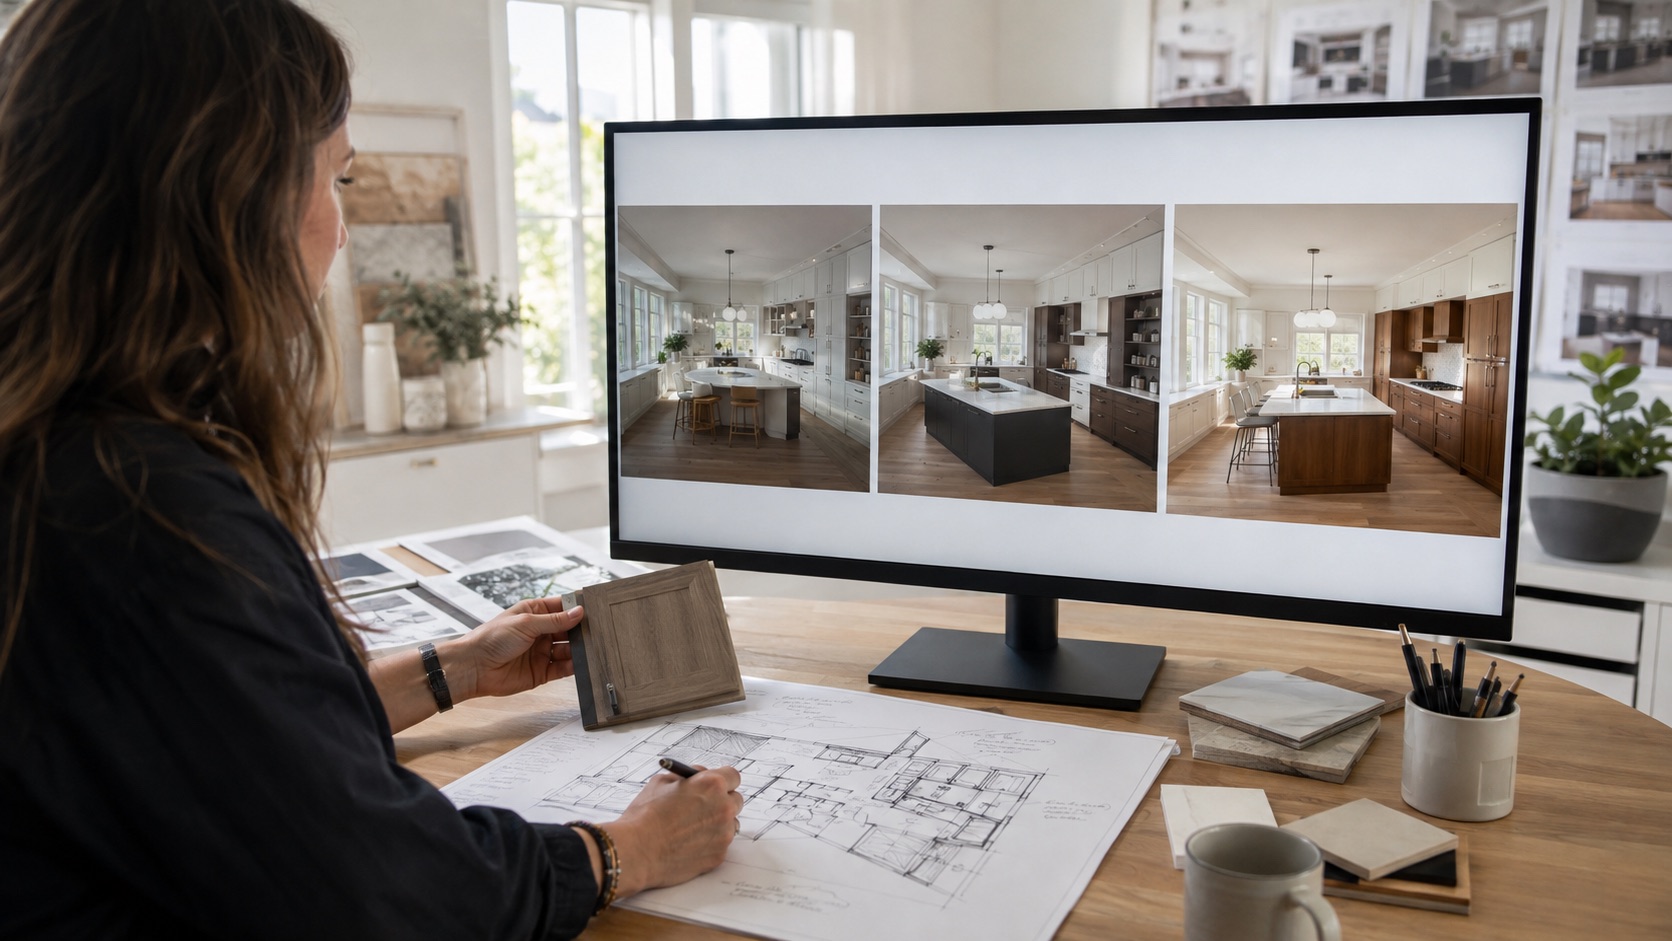
For designers moving from visual agreement toward measured work, the pre-CAD kitchen rendering process sets out the handoff. The image helps settle atmosphere and relationships. The measured plan, specifications, trades, and approvals determine what can be built.
Good kitchen design ideas reduce friction before they add novelty. Record the room, follow the repeated work, assign storage, protect landing space, and settle the technical systems. Then the color and character can belong to a kitchen that already makes sense. When those decisions are ready to compare, open a kitchen decision board in a new project.
From reading to reimagining
Explore these ideas in your own space
Find a tool for the next step in your project.