
Gallery wall layout ideas that start with the art
Arrange a gallery wall with a clear boundary, paper templates, steady spacing, thoughtful frames, and enough room for the collection to grow.
A gallery wall often goes wrong before the first nail. The plan begins with an empty rectangle on the wall and a shopping list for enough prints to fill it. The result may be tidy, but it has no reason to be there beyond covering space.
Start with the art, photographs, maps, tickets, children's drawings, or small objects you already care about. A smaller group with a point of view beats a large package assembled for the frame dimensions.
Put the collection on the floor
Gather everything that might belong in the group, including pieces that are unframed or in the wrong frame. Lay them on the floor where you can see the whole collection.
Do not arrange yet. First, remove anything included only because its color fills a gap. Look for relationships that already exist. Several works may share a subject, a place, a medium, or a particular roughness. Others may connect through the person who made or gave them.
The link can be loose. A family photograph can sit beside an abstract print if the scale and color make sense. Mixed media often makes a wall feel collected rather than ordered as a set.
If you have only two or four pieces worth hanging, use them. The wall can grow later. A compact group above a dresser or beside a doorway is easier to extend than a full wall filled with placeholders.
Choose a boundary, not a geometric formula
Decide the area the arrangement should occupy. Furniture, architecture, and viewing distance provide useful boundaries.
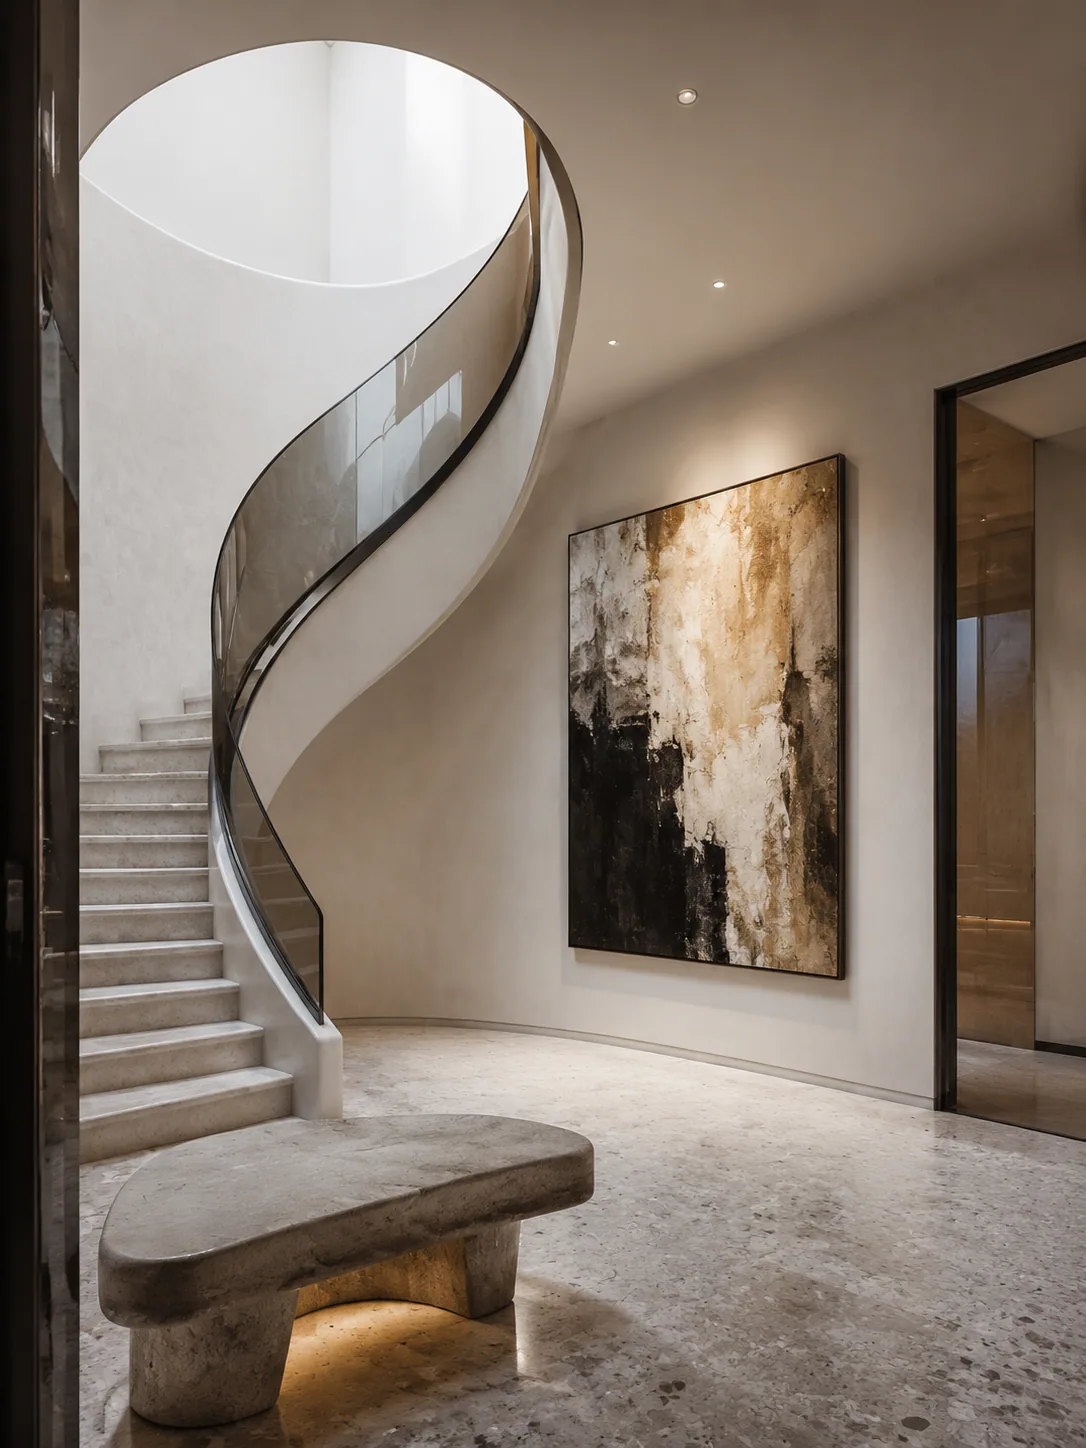
Above a sofa, the group should relate to the sofa width rather than floating as a tiny island. In a hallway, a long horizontal or staggered arrangement may follow the route. A stair wall can rise with the steps, but the lower edge needs to avoid heads, rails, switches, and doors.
When the arrangement sits above compact seating, establish the furniture footprint with the small living room layout method before fixing the art boundary.
Mark the outer boundary with low-tack painter's tape, after confirming the tape is suitable for the wall finish. Step back from several viewpoints. The rectangle does not have to be centered on the wall if the furniture or architecture is not centered.
The Architectural Digest conversation with Bunny Williams and J. Pocker suggests marking a wall-sized area on the floor before arranging the art. That method remains useful because it lets you move pieces without adding holes.
Find the piece that sets the pace
An anchor does not have to be the most expensive work. It may be the largest frame, darkest image, strongest color, or piece with the most personal weight. Put it slightly off center if a centered arrangement feels formal.
Build near the anchor with one or two pieces that differ in size. Check the negative spaces, not just the frames. A small work needs more breathing room if its image is visually dense. A pale print in a broad mat may occupy more wall than its subject suggests.
You do not need one dominant piece. A grid of works at the same size creates its own order. A pair of vertical columns can suit a narrow wall. A shelf arrangement can overlap frames and change over time, provided the shelf and wall fixings support the load.
Choose the layout character deliberately:
- A grid is calm and exposes every alignment error.
- A salon-style cluster accepts varied sizes and can grow outward.
- A horizontal line suits a console, headboard, or long dining wall.
- A vertical stack can occupy a narrow pier between openings.
The artwork decides which structure has enough flexibility.
Keep spacing steady enough
Equal spacing is helpful, but visual spacing matters more than ruler-perfect gaps. A thick dark frame may appear closer to its neighbor than a narrow pale frame at the same measured distance.
Begin with one consistent gap and adjust only when the artwork needs it. Avoid squeezing tiny pieces into leftover holes. Those fillers make the outer shape complete while weakening the collection.
Look at the arrangement through a phone camera or in a mirror. The changed view makes uneven density easier to spot. Squinting can also reveal where several dark frames have formed one heavy patch.
Leave room at the outside edge if you expect the wall to grow. Expansion works best when the current group already feels finished. A visibly unfinished tail of tiny frames looks like a project waiting for a weekend.
Mix frames without turning them into the subject
Frames protect and present the work. They do not all need to match, but they should support the collection rather than perform a separate theme.
Repeat something across the group. It might be a narrow black line, warm timber, aged metal, or generous off-white mats. Then allow exceptions where a work needs a different treatment.
Match frame construction and glazing to the object. Valuable, fragile, or irreplaceable works may need professional advice about conservation materials, mounting, light exposure, and glazing. Do not tape original art directly to an acidic backing or force a thick object into a shallow frame.
Glare changes the wall. Highly reflective glazing across several pieces may turn a bright room into a grid of window reflections. Test one framed piece at the intended time of day. Specialty glazing can help, though cost and appearance vary.
Unframed objects add depth, but confirm how they will be secured and cleaned. Plates, textiles, baskets, and sculptural pieces require appropriate mounts. Do not improvise above a bed, crib, seat, or busy walkway.
Make paper templates before making holes
Trace each frame onto paper, label it, and mark the exact hanger location relative to the frame edges. Cut out the shapes and attach them to the wall with a method safe for the finish.
Move the templates until the group works from the room's main viewpoints. Check the overall height while seated as well as standing. Art above a sofa or dining bench is seen from both positions.
The hanger mark is the important detail. Two same-sized frames can have wires or brackets at different heights. If you mark only the top edge, the installed frames may not align.
Photograph the final template layout and note the gaps. If several people are involved in hanging, this record prevents the arrangement from drifting as paper comes down.
Use hardware for the wall you have
Identify the wall construction and the weight of each framed piece. Choose hangers and anchors rated for both. Pipes, wiring, and other services may be hidden behind the surface, so do not drill on guesswork.
Heavy pieces, large glass frames, and art above beds or seating deserve particular caution. Use professional installation when the load, wall, or location is uncertain. Security hardware may be appropriate in homes with children, high traffic, or seismic risk.
For rentals, follow the lease and get permission where needed. Removable strips have surface and weight limits. Test them on the actual finish, follow the preparation and removal instructions, and avoid trusting an adhesive above a place where falling glass could injure someone.
The renter-friendly apartment guide covers more reversible ways to add character without making permanent changes.
Picture ledges reduce the number of wall penetrations and make rearrangement easier. The ledge itself still needs secure mounting, and the combined weight of overlapping frames adds up.
Let the wall disagree with the furniture a little
A gallery wall does not need to repeat every color in the rug and sofa. One connection may be enough. Art chosen only to coordinate can make the room look like a retail display.
Contrast can wake up a polite room. A strict grid can sit above a relaxed, worn cabinet. Loose drawings can soften a formal dining area. Dark frames can give definition to a pale wall, while mixed wood frames may suit a room with several timber tones.
Check the whole room before adding more. If the wall is active, nearby shelves may need fewer objects. If the furniture and textiles already carry strong pattern, a smaller or more ordered group can hold its place without shouting over them.
Leave some walls empty. The gallery has more presence when every surface is not competing to be one.
Preview scale without inventing a collection
Photograph the wall straight on, including nearby furniture and openings. An AI interior design preview can compare a compact cluster, grid, ledge, or large single work. Ask it to preserve the room and furniture dimensions.
The generated artwork is a placeholder. Do not fall in love with pictures that do not exist or let the model resize your real frames. Use the image to judge the outer shape, density, and relationship to the furniture.
For a more reliable test, make a simple digital collage using photographs of your actual pieces and measured frame dimensions. Paper templates remain the final check because they show real scale on the wall.
Gallery wall questions
How far apart should gallery wall frames be?
Choose a consistent starting gap, then judge the visual space created by different frame widths and mats. The exact distance matters less than a steady rhythm across the group.
Should a gallery wall have matching frames?
It can, especially in a grid. Mixed frames also work when a repeated color, material, mat, or proportion connects the group. Choose frames that suit and protect each work.
Where should I start a gallery wall?
Begin with the art and a boundary related to nearby furniture or architecture. Arrange the pieces on the floor, then transfer the plan to paper templates on the wall.
Can a gallery wall be small?
Yes. A group of a few meaningful pieces can occupy a defined area above a cabinet, in an alcove, or beside a door. It can grow when the right work arrives.
How do I hang a gallery wall in a rental?
Follow the lease, confirm allowed hanging methods, and test any removable product on the wall finish. Use appropriate rated hardware and avoid hanging heavy glass where failure could cause injury.
From reading to reimagining
Explore these ideas in your own space
Find a tool for the next step in your project.