
AI room design free from photo: a practical 2026 guide
Use AI room design free from photo with a clear source image, an Agent-built brief, and two focused trial outputs that answer one real question.
If you search for AI room design free from photo, you probably already have the hardest part: a real room you want to improve. What you need next is a useful visual direction without spending money just to discover that the AI moved a window, replaced the wrong chair, or turned a narrow room into an imaginary loft.
DwellShift AI Room Design gives new verified accounts 10 trial credits. Each output costs 5 credits, so the trial covers two outputs and expires 14 days after the credits are granted. Free outputs carry site branding and are intended for personal use. Your uploads and completed results stay private to your account.
DwellShift publishes this guide. We built the workflow described here, so we will show exactly where it helps and where a room photo still leaves unanswered questions.
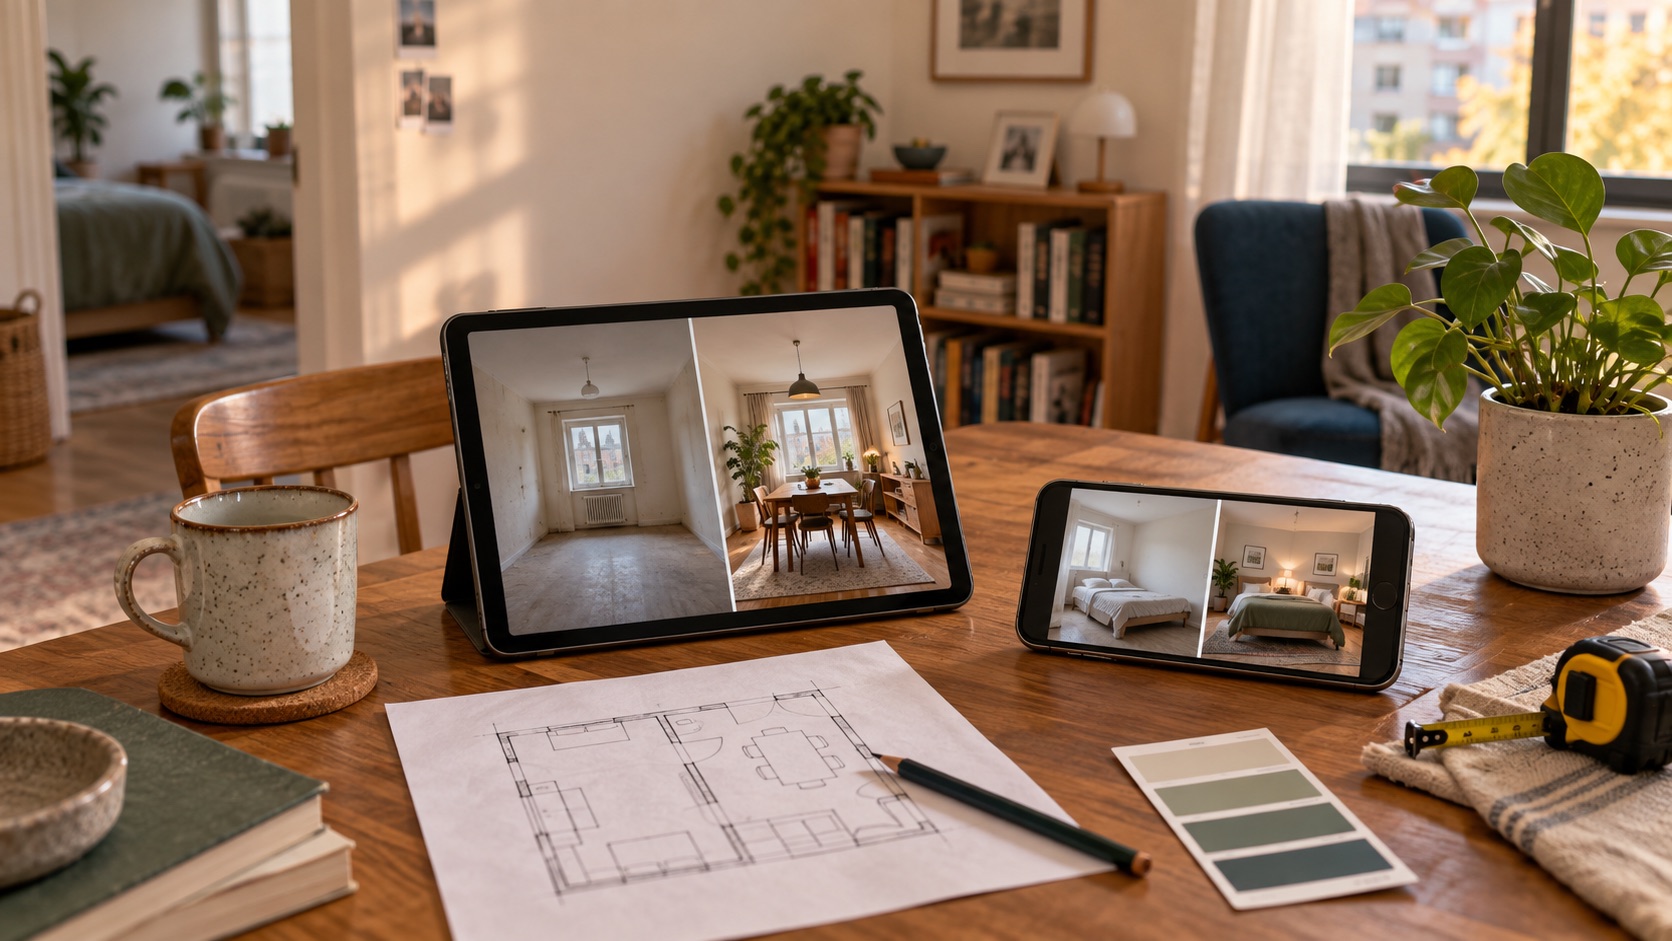
The cover is an AI-generated editorial concept. It is not a completed client project or a measured accuracy test.
How this guide was prepared: AI assisted the search research, structure, and draft. DwellShift product terms were checked against the site's current configuration and acceptance rules on September 24, 2026. We did not run an image-quality or render-speed benchmark.
Can you use AI room design free from a photo?
Yes. A clear room photo can become the base for a new color scheme, furniture direction, material palette, or focused edit. The result is a concept image. It does not reveal exact dimensions, construction behind the walls, electrical routes, plumbing, or areas outside the frame.
The current DwellShift trial is easiest to understand as a short decision session:
| Trial detail | What you receive |
|---|---|
| Eligibility | New verified accounts |
| Trial credit | 10 credits, valid for 14 days |
| Cost | 5 credits per output |
| Free allowance | 2 outputs |
| Before generation | Agent conversation and proposal review do not spend credits |
| Free result | Private, downloadable output with site branding for personal use |
Two outputs are enough when both answer the same question. They disappear quickly when the first prompt is vague and the second starts a different room.
Why use an Agent instead of another fixed workbench?
Most photo redesign tools begin with fields: room type, style, color, strength, and perhaps a short prompt. That can work for a simple makeover. It becomes awkward when the request mixes several kinds of information.
Consider this instruction:
Keep the window, floor, doorway, radiator, and blue sofa. Make the room warmer without making it beige. Replace only the rug and media unit, add closed storage, and keep the route from the door to the balcony clear.
In DwellShift, you can say that to the Agent in ordinary language. The Agent carries explicit requirements through the conversation, organizes them into a brief, and prepares a generation proposal. You can correct the proposal before spending a credit. Generation begins only after you confirm the saved version and its cost.
That is the practical advantage of an agent-led workflow. You can move from a messy idea to a reviewable request without translating every thought into a separate control. The same project keeps the conversation, photo, proposal, and results together, so the second output can build on the first.
The Agent also supports focused room, kitchen, exterior, floor-plan, and style-transfer guidance inside the Design Lab. Changing the focus does not erase the work already attached to the project.
Step 1: take a photo the Agent can work from
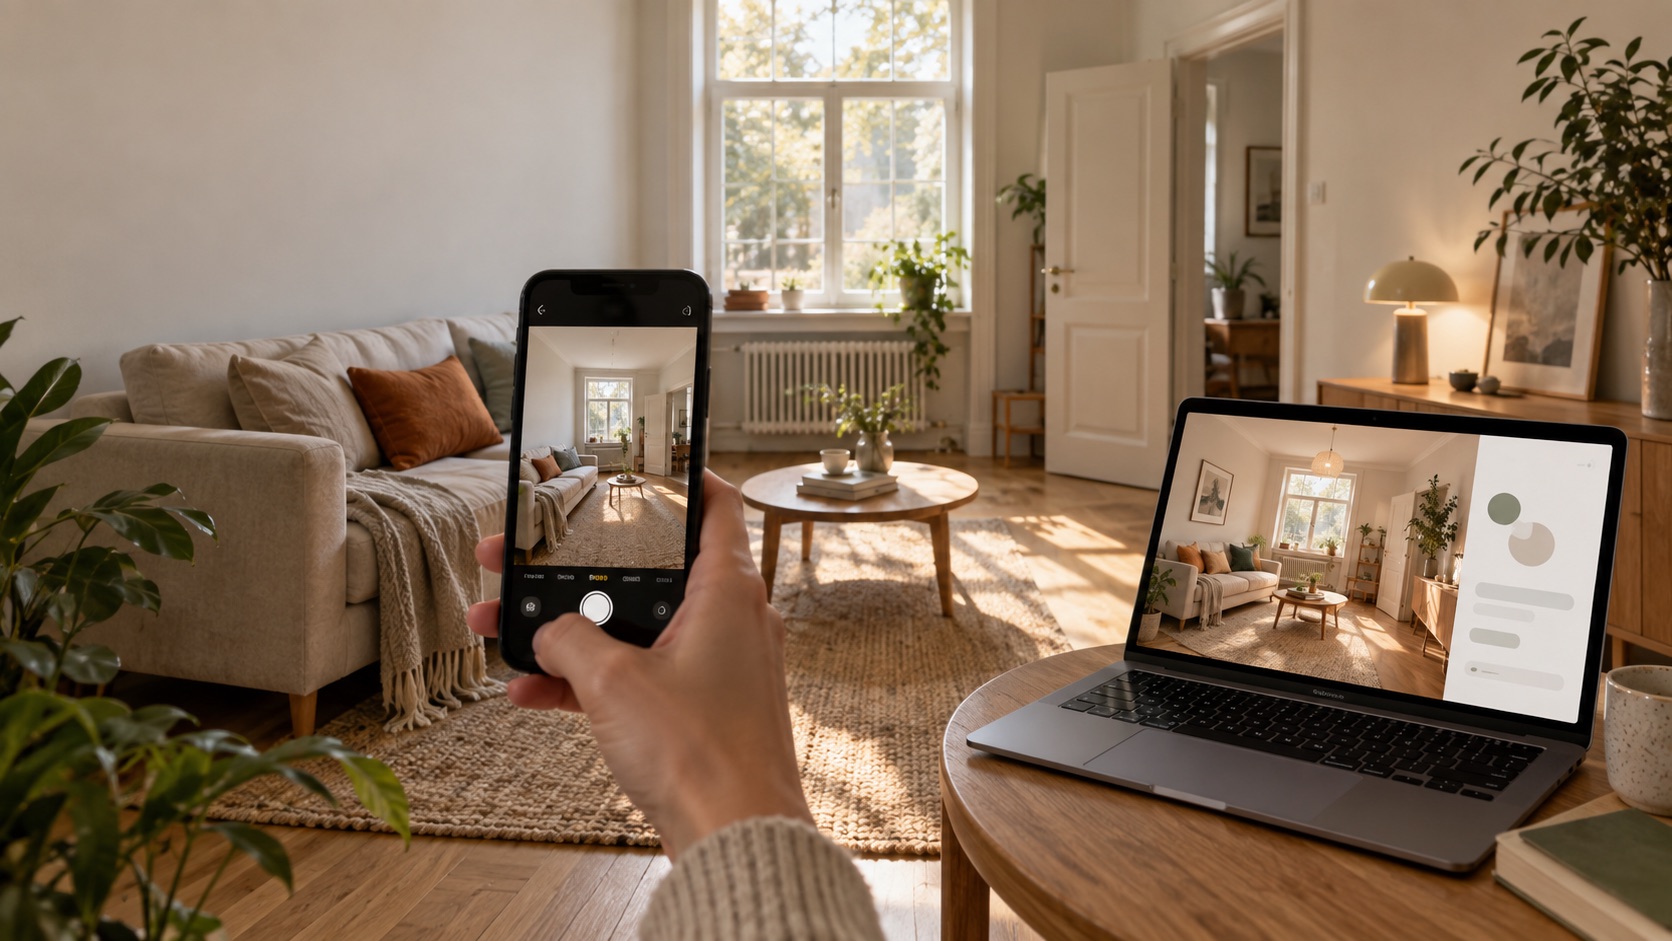
A good source image shows the room's limits. Stand far enough back to include several wall edges, some floor, the ceiling line, and major openings. Hold the camera level. Turn on enough light to see dark corners without blowing out the windows.
Keep awkward fixed elements visible. A radiator, low sill, column, sloped ceiling, or badly placed door may be the reason the room is difficult. Hiding it from the photo lets the image model solve a simpler room than the one you own.
Before uploading, remove details the design does not need: family photographs, documents, mail, screens, faces, and visible addresses. A tidy frame helps the model read the architecture, but do not clear away every object you plan to keep.
If one photo cannot explain the space, take extra reference views for your own review. Use the clearest angle as the generation base. The longer room photo guide explains how camera angle and lighting affect the result.
Step 2: tell the Agent what stays first
Style words are easy to generate. Preservation rules are what make the image belong to your room.
Start with four short groups:
- Fixed architecture: windows, doors, ceiling shape, floor, fireplace, radiator, or built-ins.
- Objects to keep: name the sofa, table, art, or storage piece that must remain.
- One design question: choose the decision this session should answer.
- Practical limits: keep a walkway open, avoid drilling, add closed storage, or retain a child-safe layout.
Then add a restrained visual direction. This is enough:
Use my living room photo as the base. Keep the room proportions, window, doorway, radiator, oak floor, and blue sofa. Test a warmer reading corner by replacing the rug and media unit, adding one narrow floor lamp, and using rust, muted sage, and warm white. Keep the doorway route clear. Do not add built-in shelves or change the camera viewpoint.
Read the Agent's proposal before confirming it. Check the nouns. If your radiator, sofa, or doorway vanished from the brief, fix the brief first. A polished proposal that describes the wrong room will still produce the wrong picture.
Step 3: use the first free output as a direction test
The first output should answer: Did the system understand the room and the requested direction?
Open the source and result side by side. Count windows and doors. Compare the doorway width, floor direction, wall boundaries, radiator, fixed storage, and major furniture. Then inspect the design idea itself.
Write three short notes:
- Keep: the rust rug gives the room enough warmth.
- Correct: the media unit should be lower and fully closed.
- Restore: the result removed the radiator beneath the window.
This takes less time than writing a new prompt from scratch, and it gives the Agent clear evidence for the next proposal. If the whole direction feels wrong, name why. “Too beige and too formal” gives the second turn more to work with than “try again.”
Step 4: spend the second free output on one correction
Use the second output to improve the stronger idea. Keep accepted elements explicit and change one cluster of related details.
For example:
Use the first result as the direction. Keep its wall color, rug, sofa, camera view, window, doorway, floor, and clear walking route. Restore the radiator beneath the window. Replace the media unit with a lower oak cabinet with plain closed doors. Remove the extra side table. Change nothing else.
The revision workflow goes deeper into holding accepted parts steady. For a two-output trial, the essential habit is simple: treat the second image as a revision, not another lottery ticket.
| Output | Job | What to inspect | What to avoid |
|---|---|---|---|
| First output | Test one coherent direction | Architecture, kept objects, palette, main change | Comparing several unrelated rooms or styles |
| Second output | Correct the stronger result | One structural error and one related design detail | Rewriting the entire brief and losing accepted choices |
What to check before copying the generated room
Start with the quiet details. Attractive lighting and styling can distract from a door that no longer opens.
- Openings: count windows and doors, and compare their positions with the photo.
- Scale: check whether a deep sofa, large rug, or wide cabinet could fit the real wall.
- Circulation: make sure doors, drawers, and walking routes still work.
- Fixed services: look for radiators, vents, sockets, plumbing, and lights that moved or disappeared.
- Furniture reality: generated pieces may be visual composites with no exact product equivalent.
- Lighting: ask where each pool of light would come from in the real room.
Turn the useful parts into ordinary decisions: warm white walls, a low closed oak cabinet, a rust flatweave rug, one narrow floor lamp. Then measure the room and shop by dimensions, material, and function. A generated object is a reference for what to look for, not a product specification.
Use a measured floor plan and qualified advice when the project changes walls, services, ventilation, structure, or code-sensitive details. A single photo cannot supply that information.
What “free from photo” includes and leaves out
The free trial includes time with the Agent, proposal review, two generated outputs, private project history, and downloadable results. Generation uses credits only after you confirm the proposal. Failed confirmed jobs release reserved credits under the site's credit policy, while an unclear provider result may stay reserved during review.
The trial has real boundaries:
- verification is required
- the 10 credits expire after 14 days
- two outputs do not support unlimited style browsing
- free outputs carry DwellShift and ai-roomdesign.com branding
- free access is for personal use rather than commercial delivery
- the image is a visual concept, not a measured plan or construction document
If you are still comparing tools and their free limits, the free room design app comparison separates ongoing plans, starter images, expiring trials, and rate-limited access.
A five-minute checklist before you generate
Use this once and you are less likely to spend the first output correcting an avoidable omission.
- The photo shows floor, wall edges, openings, and the fixed problem.
- Private details are cropped or removed.
- The brief names every architectural element that must stay.
- Furniture to retain is identified by color, type, and position.
- The request asks one design question.
- The practical limit is concrete, such as a clear route or a maximum cabinet depth.
- The Agent's proposal matches the photo and your instructions.
- You know what the first output must prove.
Questions about AI room design free from photo
Do I need an account to use the DwellShift free trial?
Yes. The 10 trial credits are granted to new verified accounts and expire 14 days after they are issued.
How many free room designs can I make?
The current trial provides 10 credits, and each output costs 5 credits. That covers two outputs. Review and edit the Agent's proposal before confirmation so those credits go toward the right request.
Will AI keep my windows and furniture in the same place?
Clear preservation rules improve the odds, but the output still needs a side-by-side check. A generated image can move, resize, replace, or remove parts of the source room.
Is the free result watermarked?
Yes. Free outputs include the site's branding. Paid plans and credit products state their watermark and usage rights on the pricing page.
Can I renovate directly from the generated image?
Use it to choose and communicate a visual direction. Verify dimensions, products, clearances, services, structure, and local requirements before making physical changes.
Two careful outputs can settle more than ten disconnected experiments. Choose one room, one question, and one source photo. Let the Agent build the brief, check it before confirmation, and use the second image to correct the first.
When your photo and keep list are ready, start a free DwellShift room design project.